Introduction:
The two more popular types of resin-based mortars are the brush-in (aka "polymeric") mortars (1-part), and the slurry grout (2-part). The polymerics tend to be lower strength products more suitable for use on patios and low-use pedestrian areas which aren't regularly power washed , while the mixed on-site slurry-applied grouts tend to be much stronger and ideally suited to all patios, driveways, public plazas and anywhere open to vehicular traffic. The 2-part grouts are also superior at withstanding the erosive effects of pressure washers.
The two component slurry-applied resin grouts are considered on this page, supplemented by case studies of a sett paving refurbishment project and a sett/flagstone driveway project , while the pre-mixed one-part polymerics are considered on a separate page .
The higher-strength, slurry grout products usually comprise a filler (sand) with one or more packs of resin that is to be mixed on-site prior to use. The sand/filler is either mixed in the packaging pail/bucket or placed into a rotating drum mixer before adding the resin(s). Some products also require the addition of a specific quantity of clean water.
Before placing the mortar onto the surface, the installation instructions should be consulted. Many of the slurry grout products require a pre-wetted surface.
There is a wide range of resin grouts, specifically designed to cope with various site conditions and/or loading demands. There are special grouts used for narrow (2-8mm in width) joints, grouts for use in wet weather, grouts for exceptionally heavy traffic loads such as bus lay-bys or freight yards, as well as fully permeable grouts. Using the correct grout for the given application is essential, so check the full range before deciding which grout to use.
Tools:
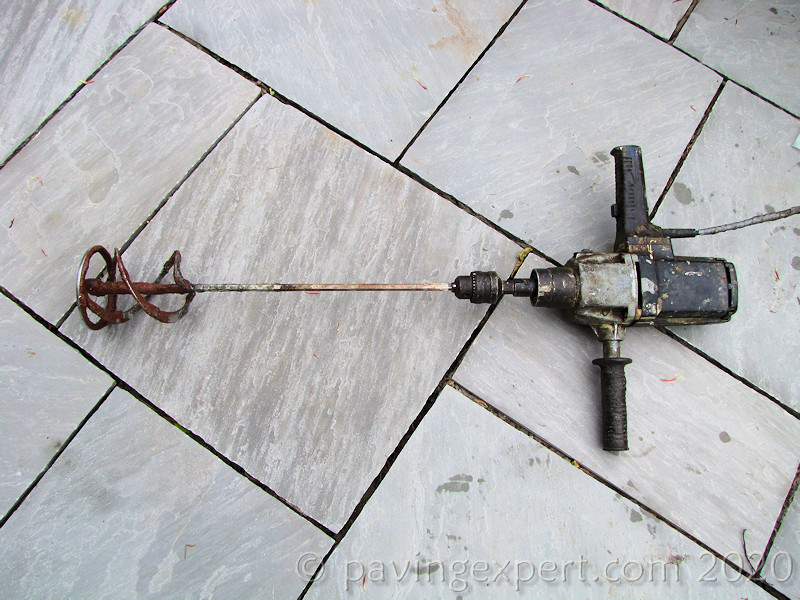
- Mixer (rotary/cement) or Powered agitator/stirrer
- Soft brush
- Squeegee
- Mixing bucket
- Trowel (for cleaning out mix bucket or rotary mixer)
Coverage Guide:

Use this Pavingexpert Calculator to determine approximate coverage for resin slurry jointing

Technique:
There is some variation in the components used by different products, even amongst products from the same manufacturer.
Some grouts have the aggregate pre-coated with the binder resin and then use a single bottle or pack of 'activator resin' that is mixed with this pre-coated filler to initiate curing.
Others rely on 'clean' or uncoated filler aggregate with the two component resins packed separately, requiring each bottle/container of resin to be added to the filler before mixing.
Most products require the addition of a specific quantity of clean water.
Consequently, it is vitally important that the manufacturer's instructions are followed to the letter . The following is an example of a reasonably common installation technique.
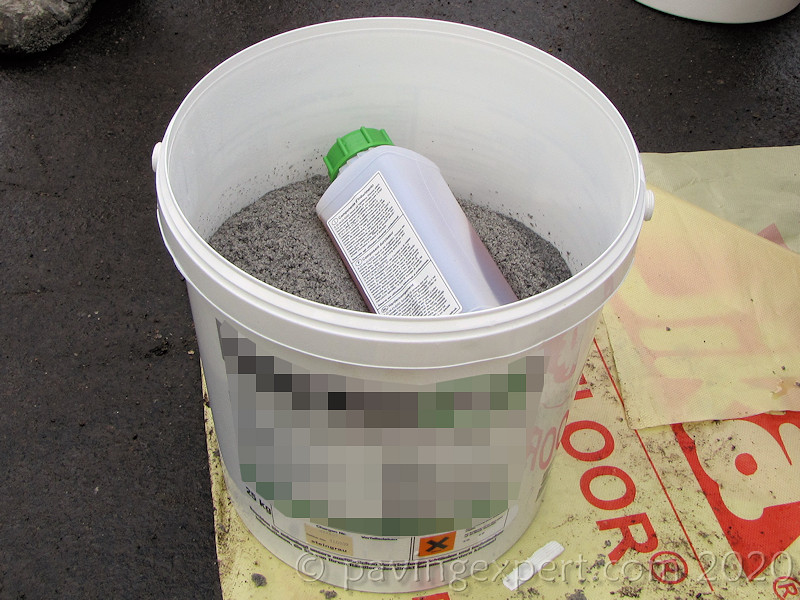
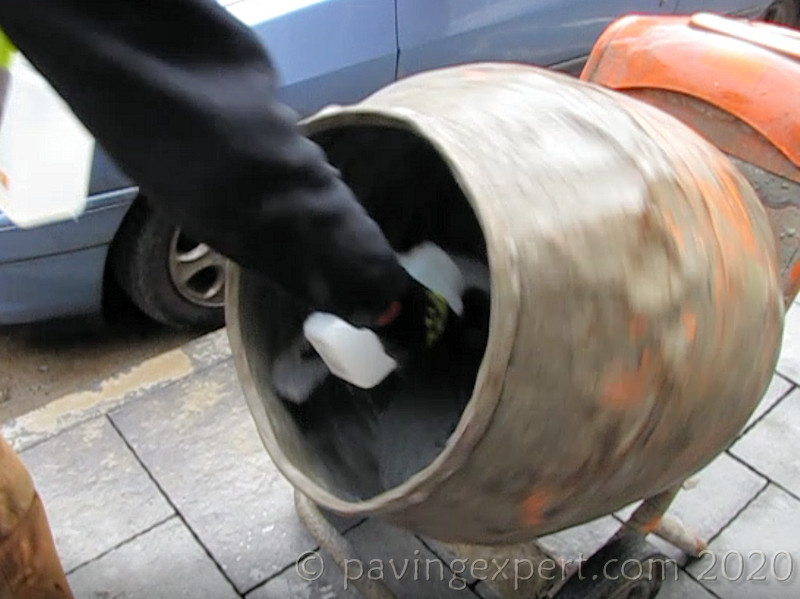
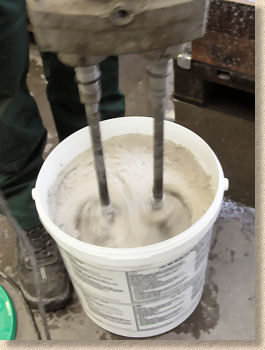
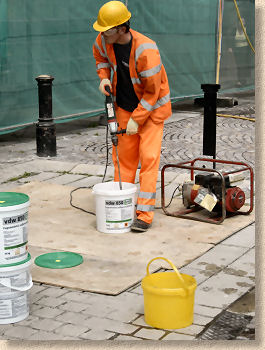
Most resin grouts come with the resin component(s) packaged in a separate bottle (or bottles) packed in the main container. Many contractors will mix the resin(s) into the filler within the pail, although for larger jobs it is possible to mix two or three pails simultaneously within a rotary mixer (more commonly referred to as a "cement mixer"), as long as each pail of filler is accompanied by the correct quantity of resin(s).
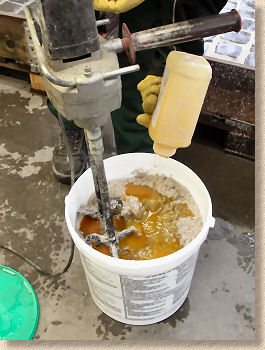
All of the liquid(s) must be added to all of the filler. It is not good practice to mix half a pail of filler with half a bottle of resin, as the precise ratio of resin-to-filler can be adversely affected. Similarly, the grout will be seriously compromised if not all of the resin is added to the filler, or if additional sand/grit/etc is added to the filler in an attempt to extend coverage.
Mixing should continue until the resin is thoroughly and completely mixed through the filler. Several manufacturers state minimum mixing times, usually 1½-3 minutes, and these should always be followed if issued.
When a powered agitator/stirring paddle is used, it should be worked into the bottom corners of the pail to ensure there are no clumps of partially- or un-mixed material.
On site, the mixing area should be protected with decking sheets and/or heavy duty polythene to protect the surface from accidental spillage and splashes.
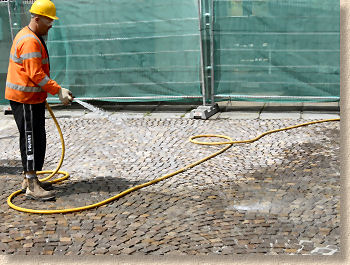
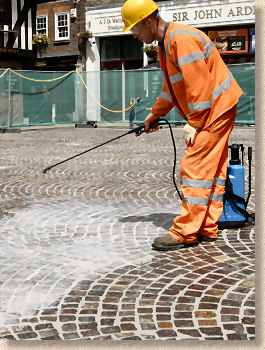
The surface to be jointed is pre-wetted by spraying with a hose. The whole of the area to be jointed must be wetted prior to spreading the grout. On larger projects, there is no sense in pre-wetting hundreds of square metres at a time, as long as an area larger than will be covered by the ready-to-pour grout has been soaked. Further areas can be wetted as and when necessary, but the grout must NEVER be spread onto dry paving.
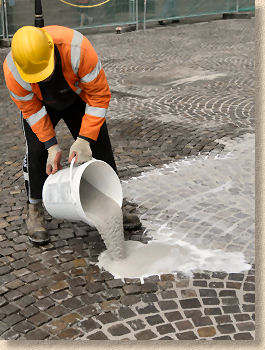
Once mixed, the grout has a limited working life so must be spread onto the pre-wetted surface as soon as possible.
A squeegee is the ideal tool to spread the grout, chasing it into empty joints and scraping off the excess. Most resin grouts are self-compacting and therefore do not require tamping or tooling in any way to consolidate the mortar within the joint. It may be necessary to top-up joints after a few seconds as the wet grout settles, but, generally speaking, within a minute, the joints will be settled and full.

The surface is kept wet or damp throughout. This can be done by spraying with a hose or jet washer, or a special moisture retaining mat can be placed over the freshly-jointed pavement.
After 5-10 minutes, the cleaning operation can begin. This starts with the surface being washed clean of any residue, again using the hose or jet-washer to apply additional water to the surface.
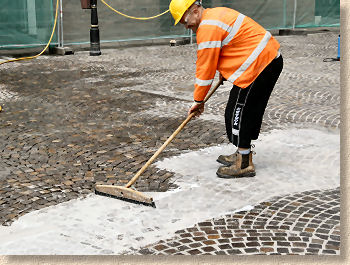
Finally, the surface is meticulously swept using a soft bristle brush, removing every last trace of filler (sand), leaving the joints full and the pavement surface clean. Removed material can NOT be re-used and should be dumped.
Many resin slurries leave a low-sheen film residue on the surface, but this usually weathers off in a few days or weeks, depending on traffic. The grout will start to harden within the hour, but the pavement should be kept free of pedestrians for around 24 hours and vehicles should be kept off for 3-5 days.

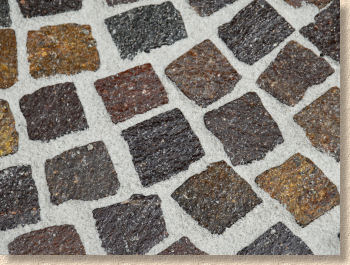
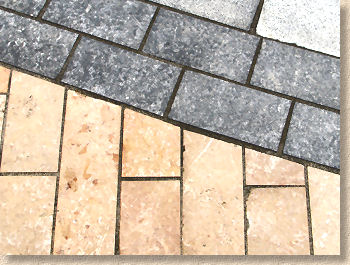
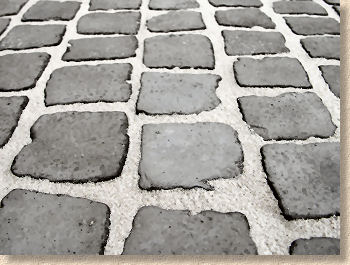
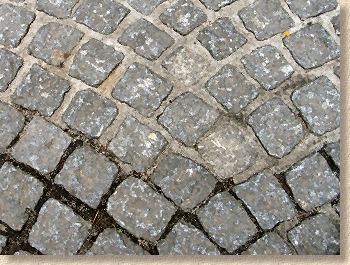
Click to access case studies following the use of resin slurries in the refurbishment of an existing sett pavement using VDW 850 self-compacting epoxy resin pavement joint mortar, and the jointing of a sett/flagstone residential driveway using the permeable VDW 800 as supplied by NCC Streetscape
Examples:

Comments:
The best of the resin-based slurry grouts are superb products, offering speedy and sound jointing with minimal effort. They are also the only class of resin mortars or grouts that can cope with sustained and/or regular power washing. If you plan to be washing down your paving every couple of weks or so, then a 2-part resin mortar is probably the best option for the jointing.
The only real downside up to now has been the cost, but as the market has developed, this has now settled at a level that makes this group of products reasonably competitive with the better cement-based proprietary brands.
Their great advantage over cement-based mortars is the ease of cleaning and reduced inconvenience to users in terms of getting pavements open for use that much sooner. When considering the ever-diminishing cost difference between cement and resin products, a few quid extra may often be deemed a reasonable price to pay in order to get pedestrians and vehicles using the pavement a few days earlier.
As long as the manufacturer's instructions are followed, there's very little to go wrong with resin slurry grouts. However, that cost factor can encourage the more flighty contractor to seek methods of increasing coverage, most often by skimping on the resin content or bulking-up the filler by adding a spadeful of kiln-dried sand. Similarly, partially filling joints with a cheaper material prior to resin jointing may have a deleterious effect, particularly if the minimum recommended 25-30mm depth is not achieved.
Thanks to NCC Streetscape for providing photographs of their VDW 850 product from GftK.
Other pointing and jointing pages...
- Introduction
- Terms & definitions
- Pointing Styles
- Spacers for Paving
- Cement Mortars
- - Hand Pointing
- - Pointing Riven Flagstones Using Coloured Mortar: A Case Study
- - Wet Grouting
- - Dry Grouting
- - Slurry Grouting
- - Gun Grouting
- - Poured Grouting
- Resin Mortars
- - Polymerics
- - GftK Polymerics: A Product Study - VDW 840+
- - Romex Polymeric Mortars: A Product Study
- - Jointex Polymeric Mortar: A Product Study
- - Slurries
- - GftK Slurry Mortars: A Product Study - VDW 800 Permeable
- - GftK Slurry Mortars: A Product Study - VDW 850
- Re-jointing paving
- Pitch Jointing
- Loose Fill Jointing
- - Stabilisation
- Alternative Jointing Materials