Basic construction:
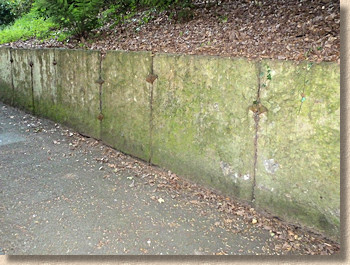
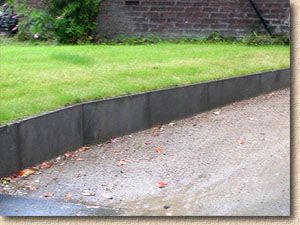
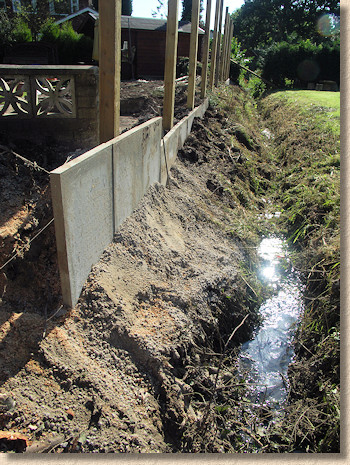
Most types of flags/slabs can be used for this very simple retaining structure, as it is the concrete haunching and bedding that provides most of the strength. By using a decorative or riven type of flag, a pleasing finished effect can easily be achieved, creating different levels within a garden or landscape.
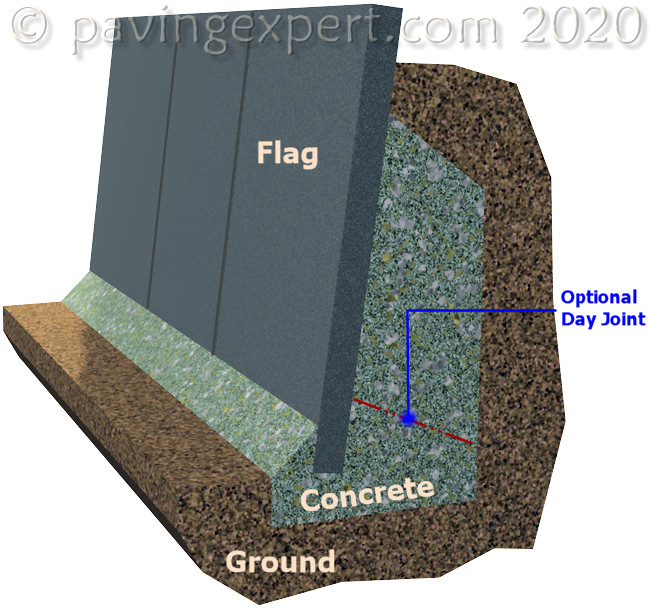
The flag is laid on a concrete bed at an angle of around 5° from plumb, leaning back into the bank. The concrete haunch is packed into the rear and at the front toe of the flag, to prevent it slipping forward.
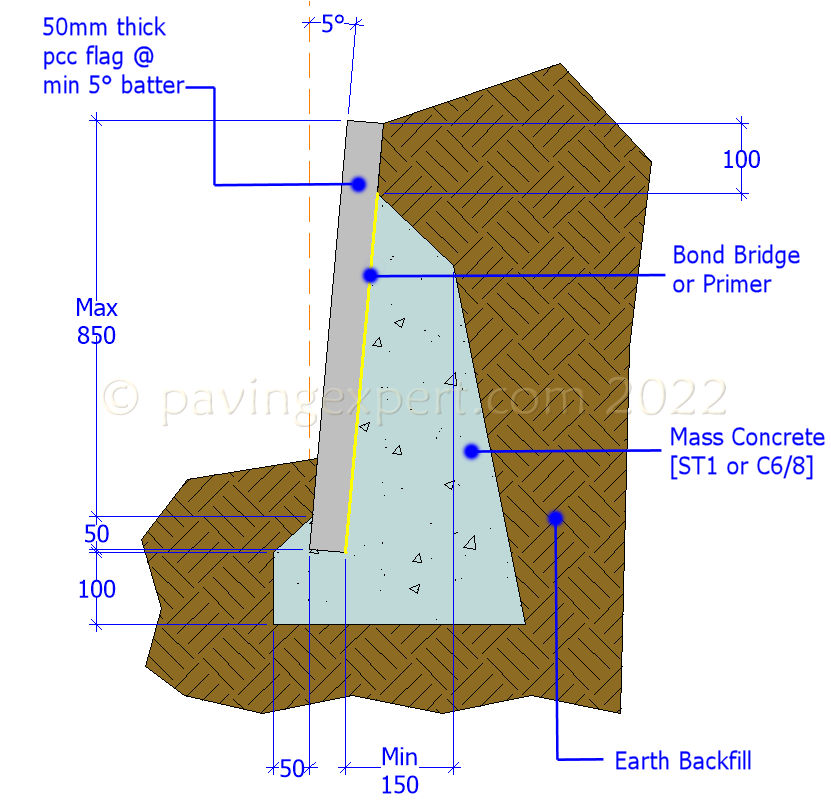
Applying a bond bridge of slurry primer on the rear of the upright flag immediately prior to placing the haunching concrete will help ensure maximum adhesion.
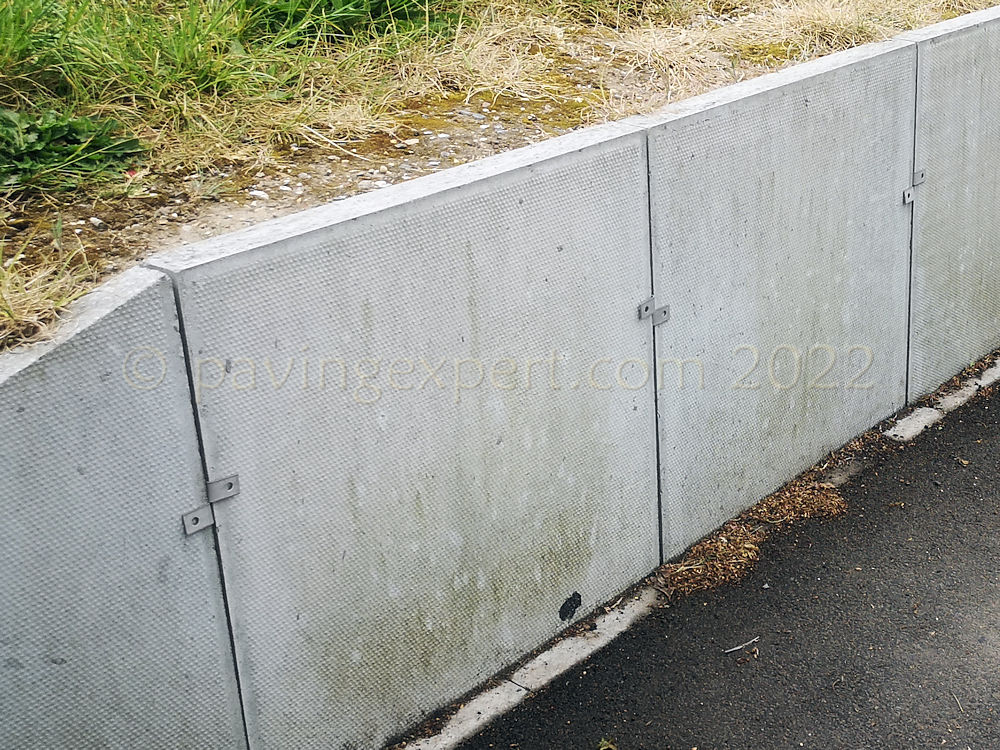
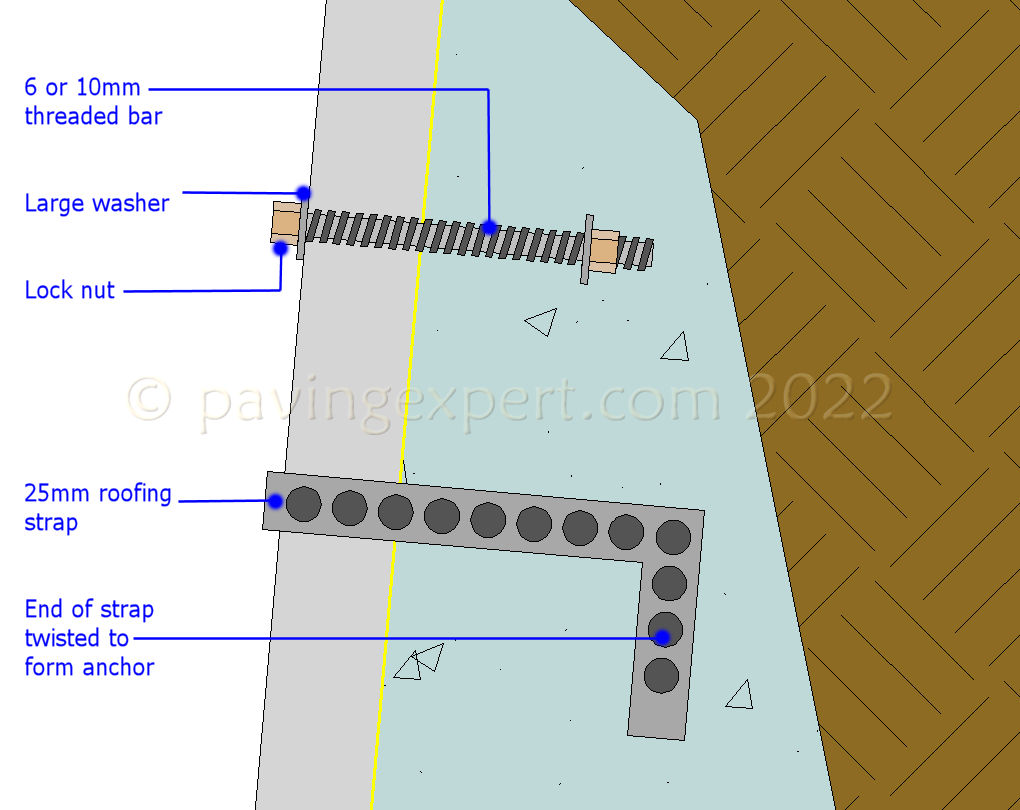
Alternative securing strategies, for projects where the upright must be firmly retained, include the use of threaded bar or roofting straps projected through the joint between adjacent flags and embedded in the haunching concrete. While roofing straps can often be inserted into the joint between adjacent flags (as shown below), threaded bar will most likely require a hole to be drilled, and that being the case, the hole could be positioned centrally rather than over a joint.
This structure is not suitable for retaining banks greater than 900mm in height, or for supporting heavy or elevated structures, such as driveways and car parks more than 450mm high; for these types of construction, a brick-built or system retaining wall will be needed.
This flag-on-edge structure is useful for terracing and retaining smaller banks of earth, but is a bit too heavy for practical use in retaining raised beds in the garden.
One of the more popular uses for this type of simple retaining structure is to accommodate a level difference between two adjacent pavements. The most regularly observed example of this is the neighbouring driveways which share a common threshold level where they meet the public highway, but then diverge, and one drive ends up being 150mm to 450mm higher than the other.
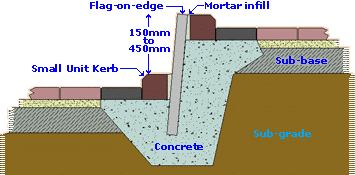
Note the upstand of the retaining structure on the upper driveway. This is important, as it provides 'check' that will help prevent a vehicle accidentally straying over the edge. On the sketch shown here, the upstand has been aesthetically enhanced by incorporating a small-unit kerb, although, in theory, 50-100mm of the flag itself could be left 'sticking up'.
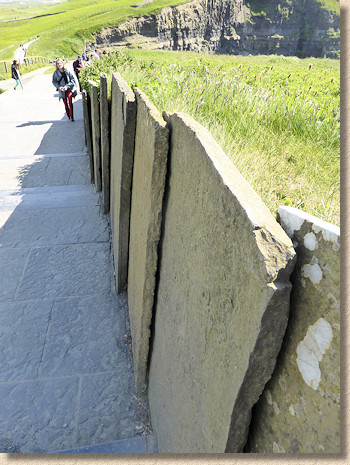
Examples of use:
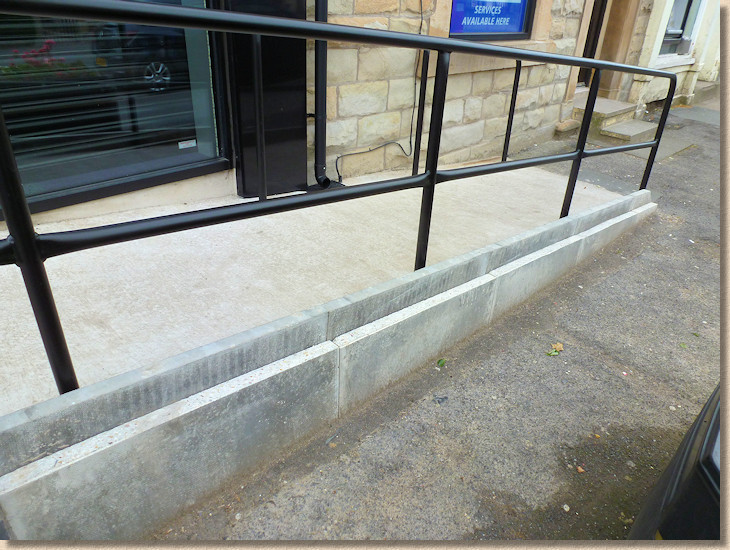
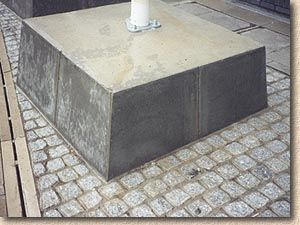
In this example, a flag-on-edge retainer has been used to create a simple plinth surround to a sign post. Note that the flags have been carefully mitred at the corners to ensure a neat and tidy finish without compromising the backward tilt of the flags or exposing unsightly 'ends'.
The plinth has been filled with concrete and then finished with a steel float to give a smooth finish. Notice that the concrete has been laid with a small amount of fall to ensure surface water (rain) drains away adequately.
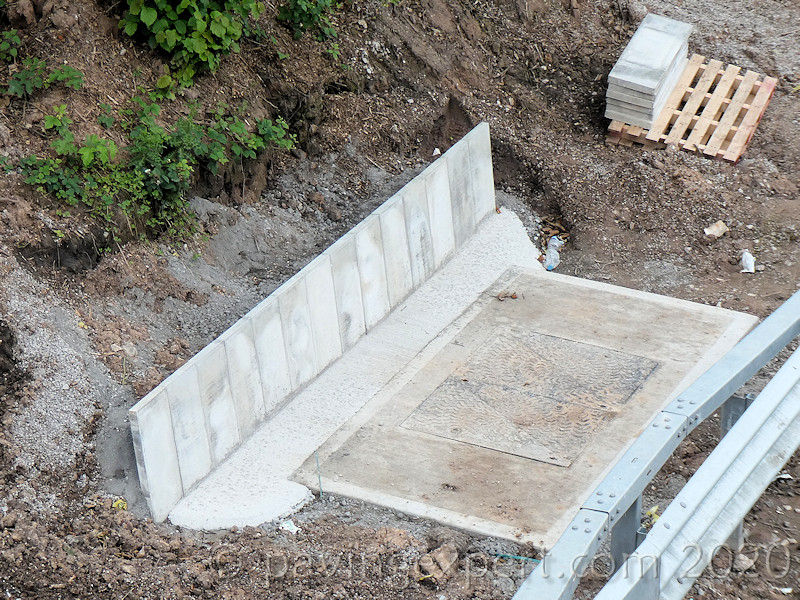
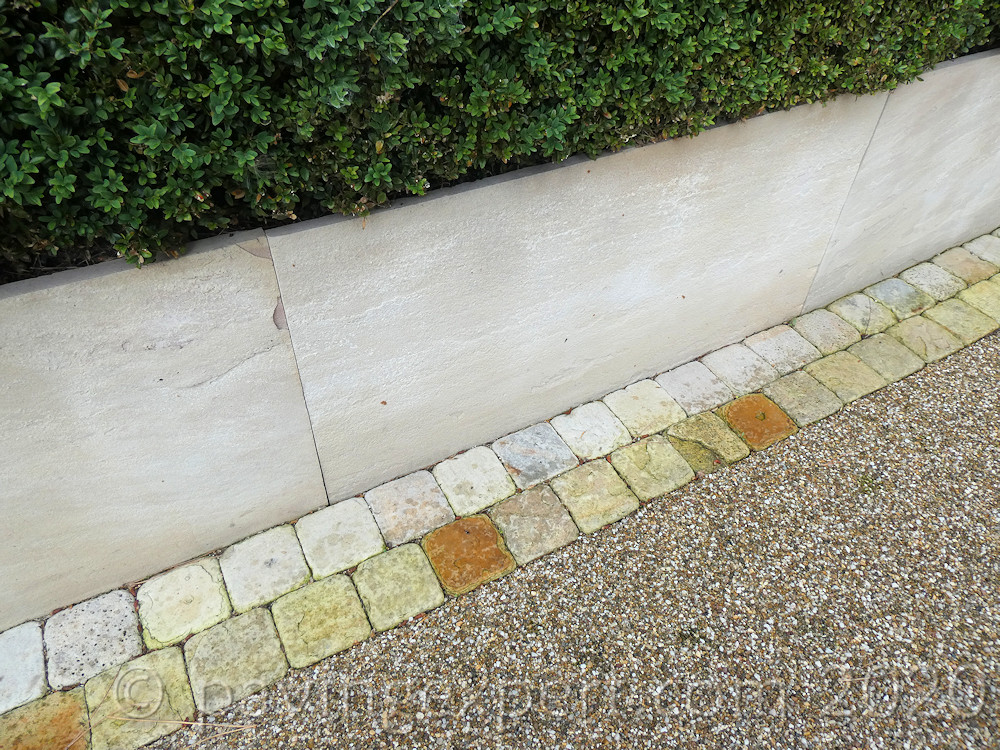
Textured flags are a popular choice for more decorative projects, such as low retainers in a garden, as the roughened surface and the addition of a mellow colour can effectively soften what is, after all, a fairly hard structural element. However, it's worth noting that many textured flags, and decorative flags, do not have similarly textured edges and so what is to become the top face of the flag-on-edge may not match what is now the front face.
With these smaller jobs, it can be tempting to omit the concrete haunch, mistakenly assuming that such a minor retainer doesn't warrant all that extra work. WRONG!
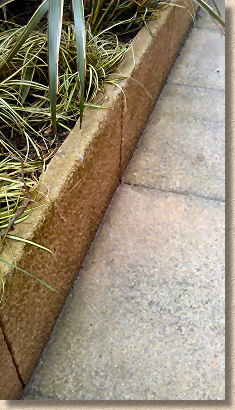
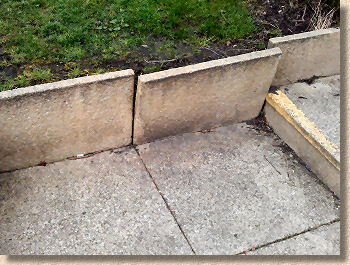
The two most common causes of failure with flag-on-edge structures are lack of a concrete backing and/or insufficient batter, both of which usually lead to the flag falling forward, as shown below.
Laying to a slope:
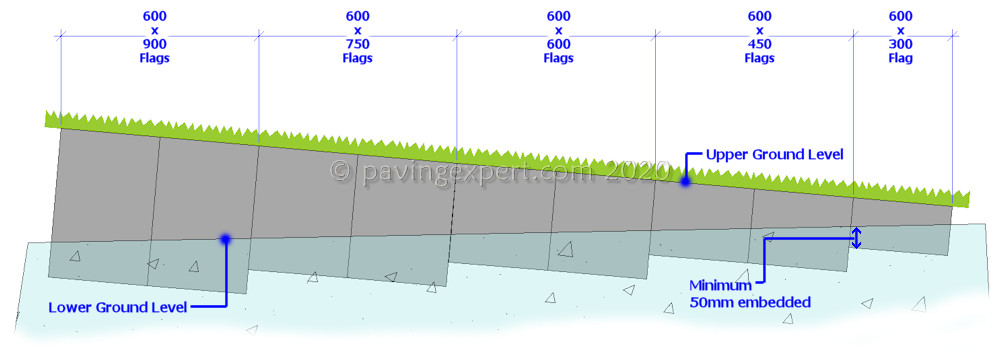
Where a flag-on-edge retainer is needed to follow a sloping upper level, that is, the top of the retainer is not truly horizontal, the most appropriate flag size is chosen to ensure the top profile follows the required level while, at the base, at least 50mm of the flag is embedded within the concrete.
The example below is an idealised situation showing how, as the height of the retainer reduces from left to right, progressively smaller flags can be used. For this example, standard PCC flags have been used, but the same principle applies whatever type of flag is to be used.
It's better practice to use a full flag whenever possible and avoid cutting down flags to suit. Cutting flags at an angle to suit rising ground, or to place the cut uppermost and so have plumb vertical joints between adjacent flags, is a waste of time and effort, except at end of a run where a plumb vertical finish may be required.

As fence panels:
In some rural areas, where flagstone was readily available, there remains a tradition of using upright flags to form boundaries or fences, by sinking the stone directly into the earth with no concrete haunch or bed.
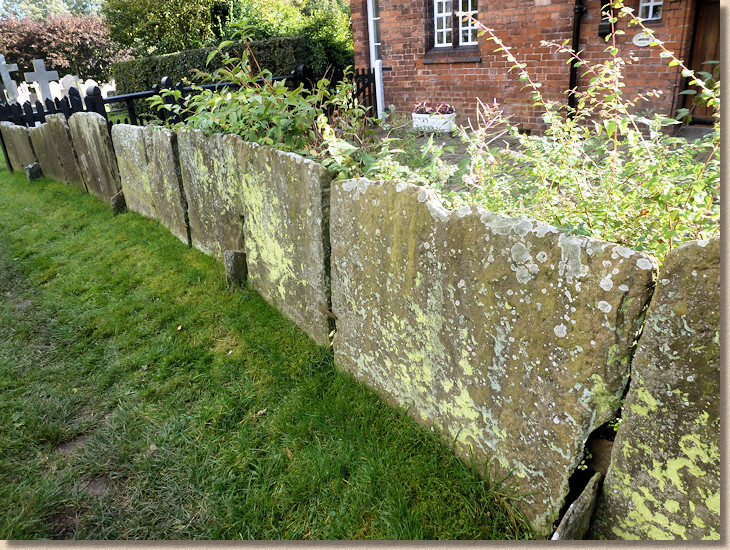
In some of the two-up-two-down terraced streets of industrial northern England, huge flagstones, sometimes up to 2.4m in length/height (8 feet in old money) would be set upright as partitions between adjacent back gardens, with 600mm or so sunk into the ground, and, occasionally, some form of basic tie linking each giant monolith to its neighbour.
This was done to improve stability, but, all too often, when one flag went over, it dragged the rest of the line with it!
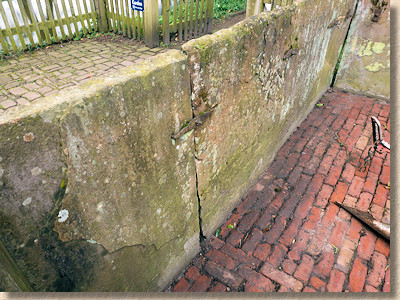
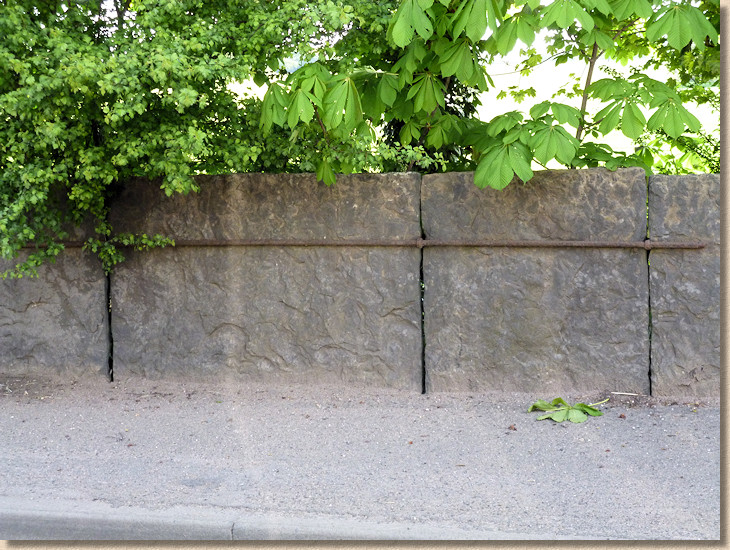
On some installations, a tie bar linking any flagstones, front and back, would be attached to a line of upright flags to improve stability, as shown above.
Often, flagstone with highly irregular or uneven surfaces (ripple bed) not really suitable for paving would be used for this purpose. Sometimes, this stone had been extracted to gain access to better quality flag stone lower down, and rather than waste it, a use as fencing gave it some value.
