Introduction:
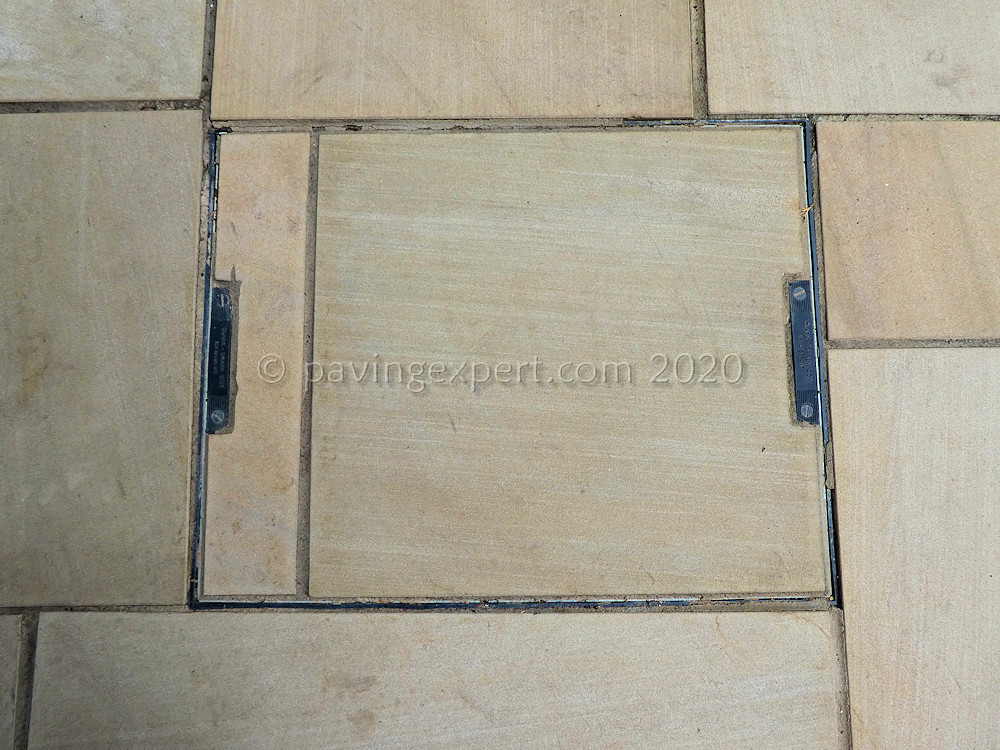
On some recess tray, rather than have “keyholes” into which manhole lifting keys are inserted to lift the tray clear from the frame and thereby provide access to the drainage beneath, the tray cleverly incorporates hidden, recessed handles.
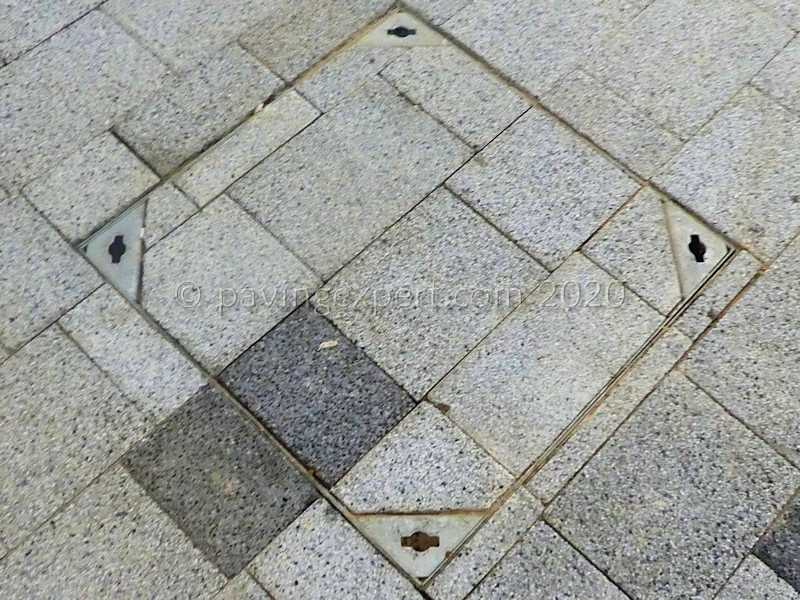
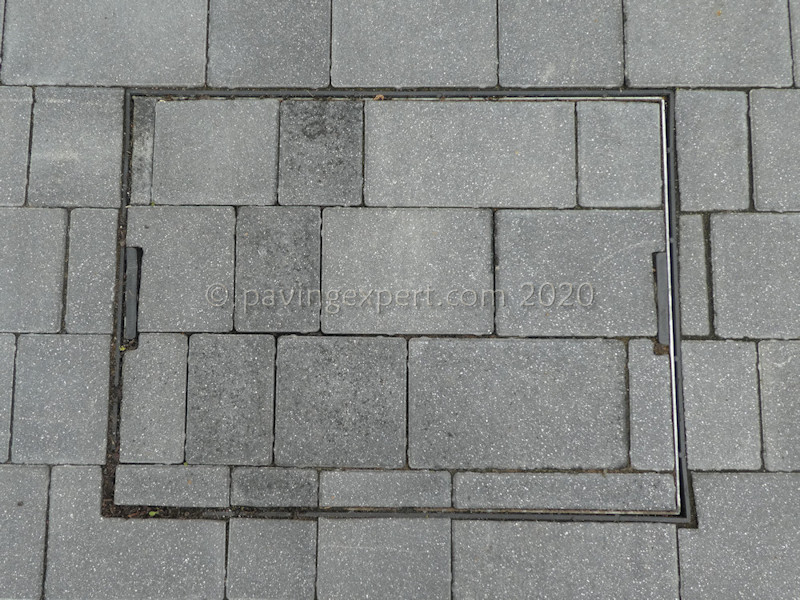
No more relying on a drainage specialist with the right set of keys to lift the covers; no more hunting around in the shed for those lifting aids that were put in the infamous “somewhere safe” location that is now completely forgotten. The keys, or handles, are right there, permanently attached to each tray, can’t be lost, accessible at any time. Brilliant!
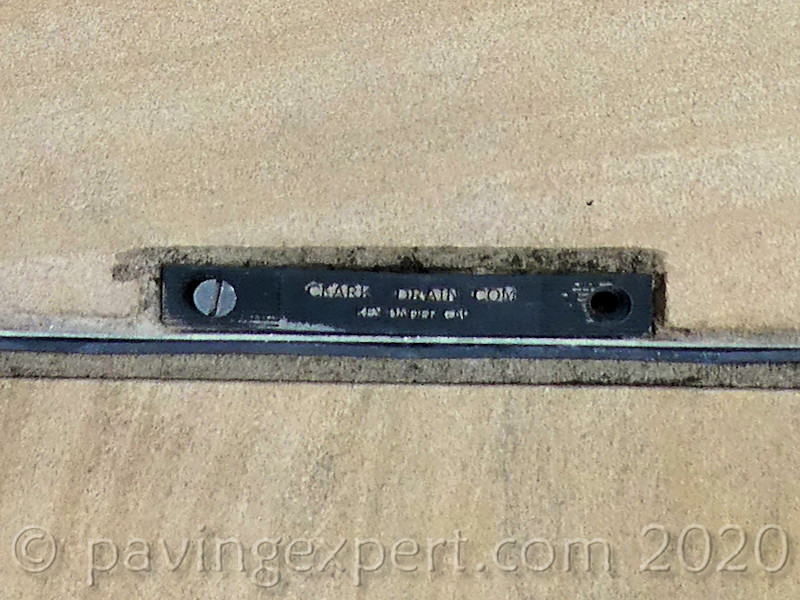
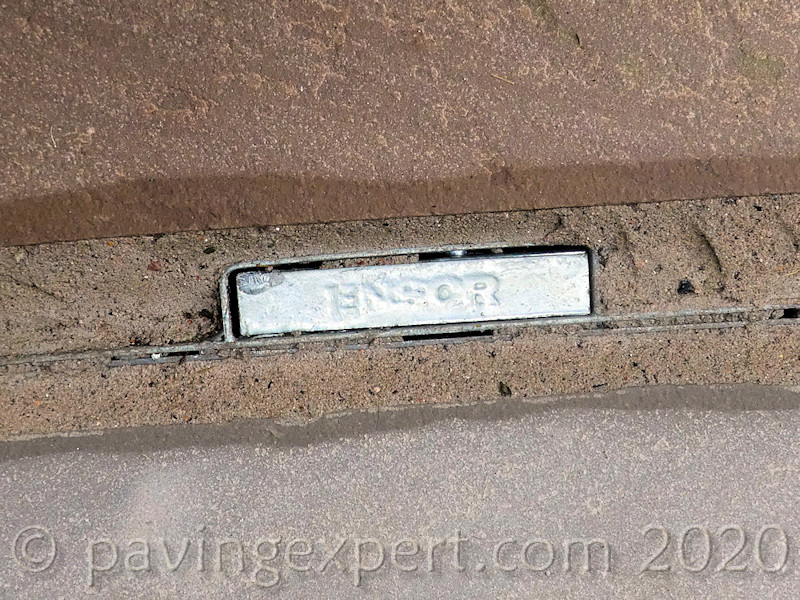
The handles are usually hidden just beneath a little cover plate, one at each ‘end’ of the tray. Some cover plates are clipped into place; others have a couple of small screws holding the cover plate securely in place. In theory, it’s simply a matter of removing the cover plates and there you go: handles accessible!
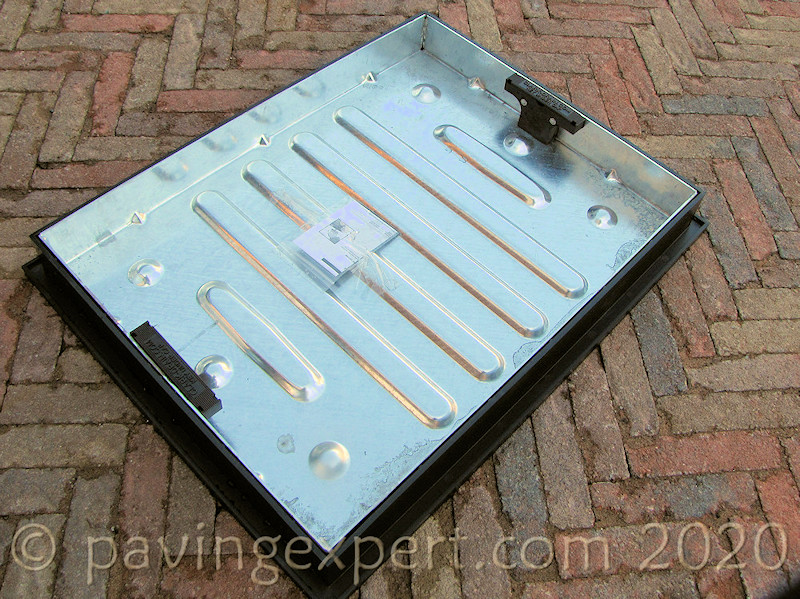
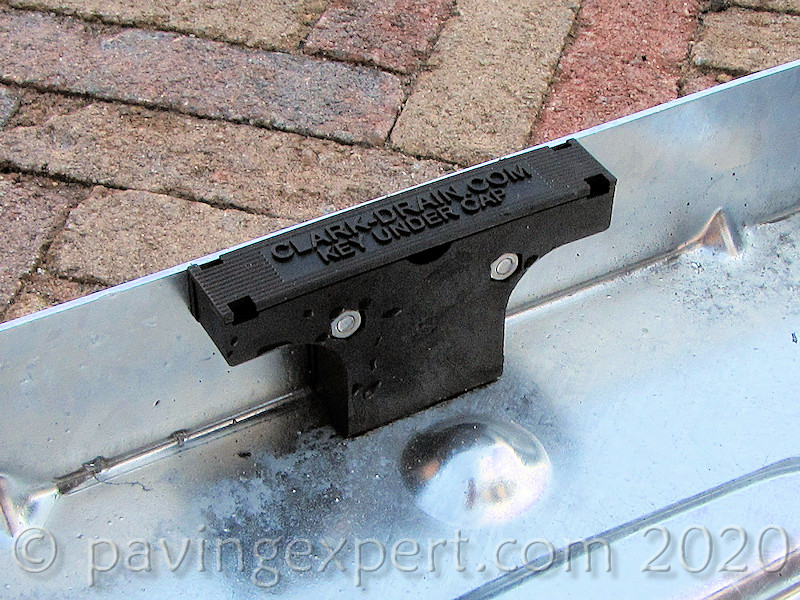
Except, all too often, those handles haven’t been used since the day the tray was placed into the tray on completion of the paving works, and in the interim, all sorts of dust and grit and grime and god-knows-what has fallen into that tiny gap between handles and tray, effectively jamming the essential handle tight. Immovable. Stuck.
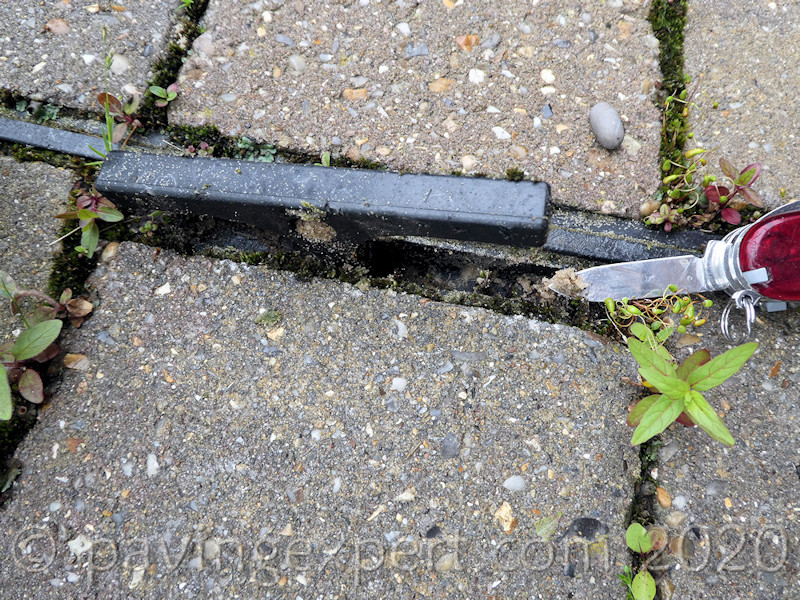
No amount of levering with a screwdriver seems to prise the handle free, and there’s a risk on accidental slip will scratch the paving. Or worse!
Freeing the handles:
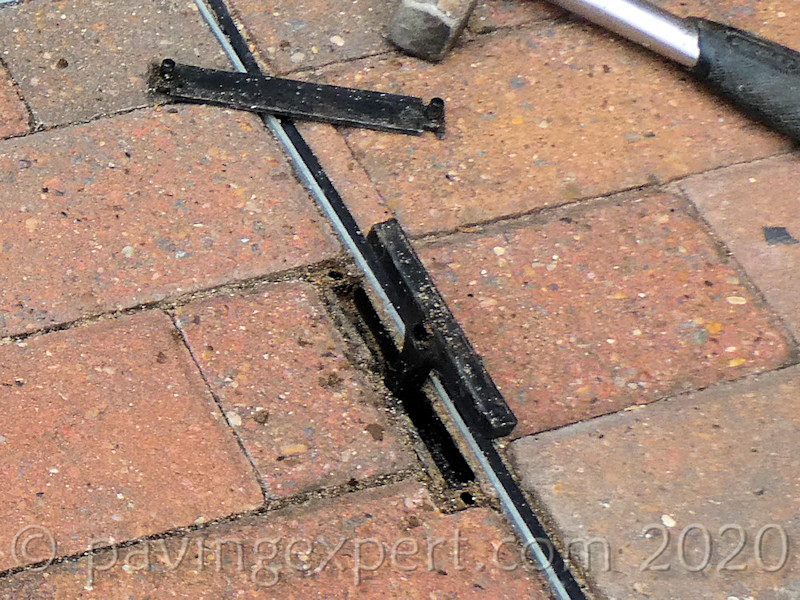
In many cases, the best way to free these jammed handles is to blast out the dirt that is causing the problem. If there is access to an air compressor, a fine jet of compressed air will often evict the offending grits and grime and loosen the handle in the process. Alternatively, a power washer with a finely-tuned lance will do the same thing, but usually with a bit more mess and a good soaking for whoever has been volunteered to undertake the task.
It’s important to wear safety goggle when doing this. That loosened grit and dust can fly almost anywhere, which usually means it makes a beeline for the eyes of the person responsible for its ejection from is safe, snug home.
Work the air- or water-jet around the gap between handle and frame, directing it as straight down vertical as possible. It may well take several passes to remove sufficient dirt to free the handle. Use a small screwdriver (or similar) to juggle the handle after ever pass with the jet, to see if it is moving. Wiggle it about, blast with more air or water, and wiggle it again. Repeat until the handle finally surrenders and rises like Excalibur from the Lake.
Aftercare:
Once the handles are up and whatever maintenance was required for the drainage is complete, the recess into which the handles descend needs a thorough cleaning with the jet. On some models, an old toothbrush or fine screwdriver blade can be squeezed into the hole to persuade any recalcitrant dirt to shift, and then rinse out with the jet to ensure the handles will fully descend and re-seat properly within the tray, with the cover plates fitting neatly over them once more.
Also, consider a liberal application of grease to the handles before they are pushed back into place as this will minimise the risk of them jamming again before they are next required. Take care not to get grease onto the paving, or, if there is a minor accident or spillage, wipe it clean as soon as possible.
It’s also a good idea to regularly lift the handles – just the handles, the tray can stay where it is – to ensure they remain free for that one time emergency when faffing around with jammed lifting handles would just add to the nightmare. Refresh the grease, if necessary – you’ll be glad you did when you next need to lift that cover!
