Introduction:
A more general overview of the use of tarmacadam/bitmac is given on the Tarmacadam Basics page and an examination of the main layers within a pavement can be found on the Bitmac Construction page.
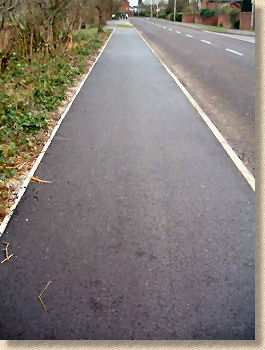
This sequence of photographs depicts the construction of a number of projects, including a public footpath and a large access driveway. The same procedures, in the same order are used to construct a typical bitmac driveway or small car park. Pavements for heavier usage, such as carriageways or large car parks will probably include extra layers (such as a Roadbase) and each layer will be thicker than that used in this example.
As a general rule, all bitmac surfacing should be machine laid by a paving machine unless there is good reason not to do so or if the pavement is intended for foot traffic only. On this particular project, machinery including a JCB-type excavator and a paver machine have been used on this project; hand-working and/or smaller kit may be used on a driveway job.
After the setting-out work is completed, the ground is cleared and excavated to Formation Level . Assuming there is no bad ground or other complications, Formation Level for a typical footpath or driveway would be....
(sub-base + binder course + surface course) =
(100 + 50 + 25mm) =
175mm below finished paving level.
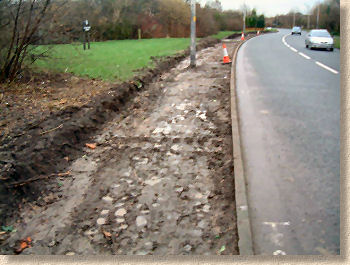
The excavated material is carted away to elsewhere on the site or to a licensed off-site tip. Due to the ever-increasing cost of landfill, contractors and developers try to keep all material onsite to minimise costs. Excavated material may be spread out over an open area, or mounded into a low hill and then landscaped.
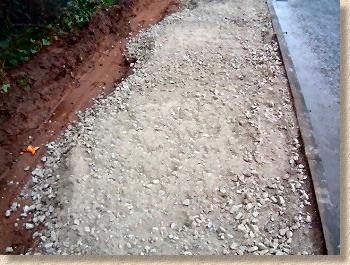
In wet weather or in winter, the sub-base material, in this case, a crushed limestone [ DTp1 or 803 ], may be placed before the edgings are laid. This helps keep ensure the kerb-layers are not bogged down in the mud and, more importantly, help ensure the laying and haunching concrete do not become contaminated with mud or earth.
Some projects may use a geo-membrane at Formation Level between the sub-grade and sub-base, but it is not essential unless bad ground or pernicious deep-rooted weeds are a problem.
The sub-base material is levelled out roughly. It will be levelled out more accurately once the edgings are in place.
Lay Edging Kerbs
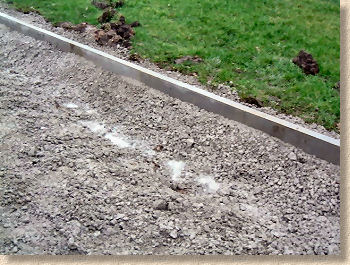
All bitmac surfaces should be retained at any free edges . Bitmac at a free edge has a habit of crumbling and falling apart, especially when vehicles are allowed to run across an un-retained edge. All sorts of materials can be used to retain the bitmac. The most obvious is an existing wall or other solid structure, but at free edges, concrete edging kerbs, road kerbs, timber edgings or any other retaining structure can be used to create a firm and robust edge that will ensure the bitmac stays in pace and reduces the risk of damage to the edge of the surfacing.
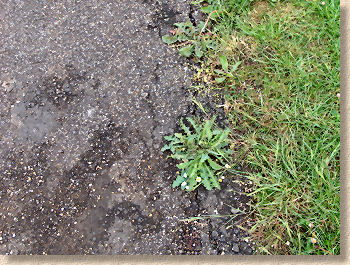
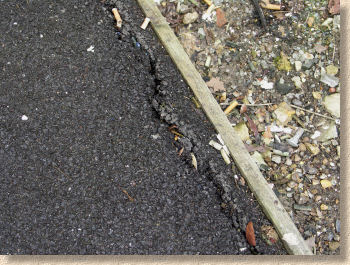
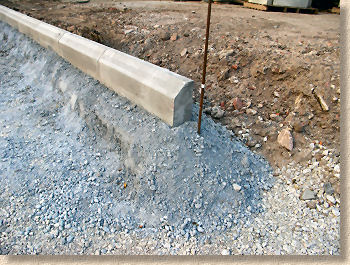
The edging kerbs are laid on a bed of suitable concrete with at least 75mm depth beneath the base. See Laying Edgings for fuller details.
Once the kerbs are in place and have been checked for alignment , they are haunched front and rear. The rear haunching should be at least 100mm thick and is always more substantial than any haunching at the front. With some types of paving, front haunching is avoided, as it can lead to problems with differential settlement , but, for bitmac paths that aren't expected to take regular vehicular traffic, it is usually allowed to pass.
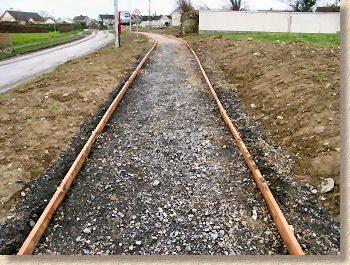
Timber edgings are often used on low-budget jobs and for footpath construction by some local councils. They are notoriously difficult to align and even harder to cajole into smooth curves, but for projects where function is more important than aesthetics, they are a viable option.
Sub-base
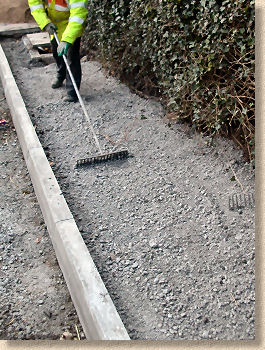
Once the concrete haunching to the edgings has set (usually at least 24 hours) the sub-base material will be placed (if not already in place), levelled out with shovels and/or rakes, topped-up as and where required, and then be compacted with a mechanical roller. Some smaller jobs may use a vibrating plate compactor to consolidate the sub-base, but, as a roller is essential for later compaction of the bitmac layers, there is normally one available on site and besides compacting the sub-base much more thoroughly than many plate compactors, they are considerably faster.
Rake and Roll!
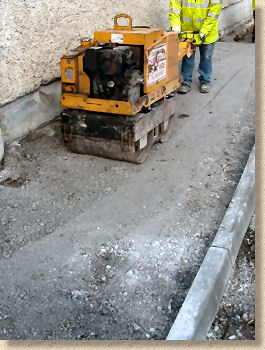
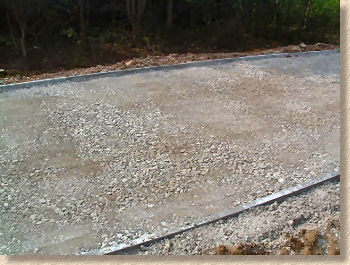
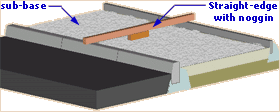
The accuracy of the sub-base layer will be checked at regular intervals by placing a straight-edge timber from the road kerb to the edging kerb and 'dipping' - measuring the distance between base of straight-edge and the consolidated surface of the sub-base. For most jobs, the sub-base is expected to be accurate to ± 10mm. Although a tape measure can be used to check the 'dip', we find that technique requires far too much bending to read the tape.
A noggin of timber cut to the required depth (in this example, 75mm) can be fastened to the base of the straight-edge and used to judge the dip - if the sub-base is too high, the ends of the straight-edge won't sit on the kerbs; if too low, the noggin will be carried above the surface of the sub-base.
A quick word about Regulating
Quite often, a surfacing job will involve laying over an existing substrate. When this is simply a matter of laying a new surface course on top of a pre-existing pavement, this is known as an Overlay . However, on some jobs, the levels of the existing surface may be low and will require 'building-up' to bring the levels within tolerance.
When a contractor is required to lay, say, 30mm of 10mm SMA surface course, there is no extra paid if 40mm is laid. The contractor is expected to ensure the levels of any sub-layers are as close to the required level as is possible, and to notify the client of any variation before laying the surface course.
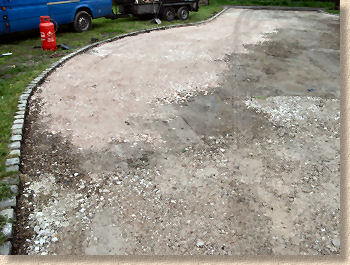
To ensure the layers of macadam or asphalt are as close to specification as possible, and that there is no needless over-use of material, a contractor may find it necessary to "regulate" one or more of the sub-layers. Regulating involves building-up sub-layers using additional material as and where required. Build-up is always done using the cheapest suitable material. Sub-bases will be regulated with additional sub-base material, while base and binder courses would be regulated with binder course material. The aim is to keep costs to a minimum, and to lay the most expensive material, which is always the surface course, as close to the specified depth as possible.
Regulating may involve laying 10-30mm of additional material over an existing sub-layer. Occasionally, large areas will require regulating by laying a variable depth of additional material over the entire area, but in most cases, regulating will involve build-up in discrete patches that will, eventually, be covered and hidden forever by the subsequent upper layers.
It's not always necessary, but when it is, good regulating saves money. It make best use of the available specified materials and ensures a good quality pavement is constructed without unnecessary wastage of the more expensive materials.
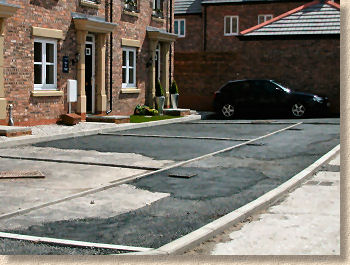
Binder Course
The binder course is the first of the two bitmac layers used in a typical footpath or residential driveway (Traffic Categories 1, 2 & 3). The aggregate in this type of bitmac is chunkier than that used in the surface course, a typical size being 20mm. The binder course material is delivered to the site in insulated wagons which keep it hot, and it is then laid as quickly as possible, before it becomes too cool and becomes unworkable.
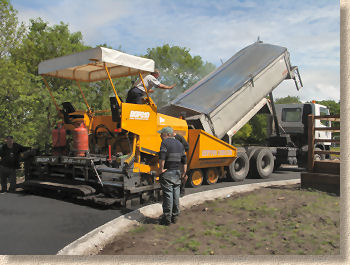
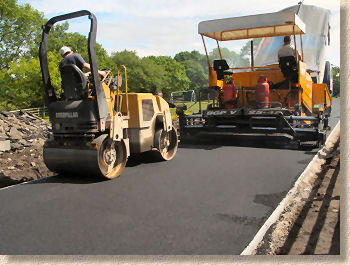
The type of job normally dictates how the bitmac will be laid. If being machine-laid, the delivery wagon empties the bitmac into the paver machine as it progresses along the run. The paver machine re-heats the bitmac before spreading and screeding it level in one continuous operation.
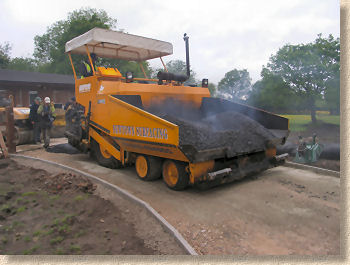
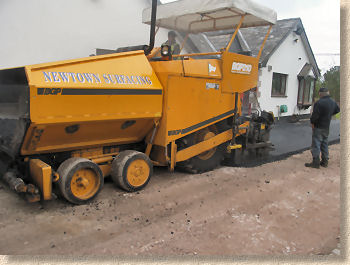
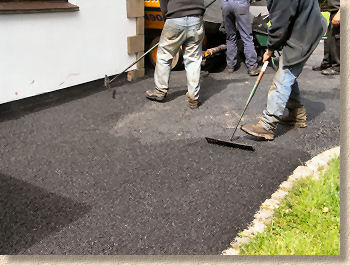
One hand-lay jobs, the bitmac is normally treated with an oil-based compound known as cut back that helps to keep the bitmac workable for longer at lower temperatures. The bitmac will be tipped off the delivery wagon onto a clean surface, such as the existing roadway, and then sheeted over with large tarpaulins that help retain the heat. A JCB or other Loading Shovel may then feed the bitmac to the laying gang, tipping it out as needed to each section of path, where it is raked level by the rake-hands who use their skill and experience to judge the accuracy of level.
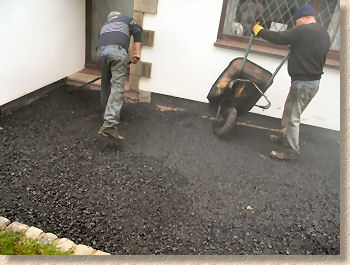
On smaller jobs, it may not be feasible to use a Loading Shovel and so the bitmac may be manually shovelled from the sheeted pile into barrows and then wheeled to the laying edge by the labourers who tip it out where it is needed as directed by the Rake-hands .
The carrying bucket of the Loading Shovel or the skip of a wheelbarrow will be 'painted' with red diesel (fuel-tax exempt and so relatively cheap) as this helps prevent the hot bitmac sticking to the cold metal and building up over time into a solid, immovable mass. Similarly, the rakes and shovels will be occasionally dipped in diesel to help prevent the bitmac sticking and the Rake-hands like to keep their tools hot, heating them over a flame at the back of the paver machine or over a fire-bucket, as this too helps keep them from becoming clogged and unmanageable as the bitmac cools.
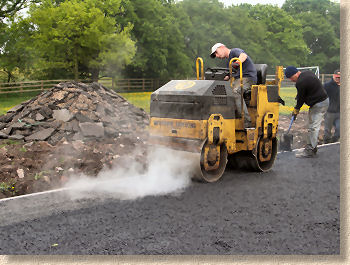
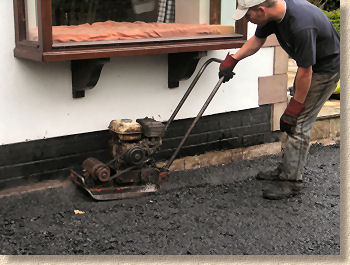
The binder course is rolled as soon as it is laid. It will take at least half-a-dozen passes with the roller to consolidate the still-warm bitmac. To prevent the bitmac sticking to the roller, water is continually dripped over the drums from an on-board storage tank. This is the cause of the steam often seen rising from freshly-laid bitmac and asphalt surfaces. Vibration is rarely used when rolling hot bitmac/asphalt.
Be aware that rolling and compaction is very noisy work. Until you've witnessed the compaction phase of blacktop construction, it can be difficult to appreciate just how much of a din is made by all the heavy kit. It may be a good idea to forewarn neighbours and to keep sensitive pets well out of the way.
For the binder course, the roller driver will continue rolling non-stop until there are no roller marks in the surface. When compacted, the finished level of the binder course is required to be accurate to around ± 10mm.
Surface Course
Finally, the Surface Course is laid. This is usually done immediately following completion of the binder course, but on larger projects, it may be the following day or later in the week before this task is undertaken. On some projects it may be several weeks or months before the final layer is placed: a good example would be the access roads on a new housing development. The surfacing contractor will lay and compact a base and/or binder course which will be used as a running surface while other construction work takes place on site.
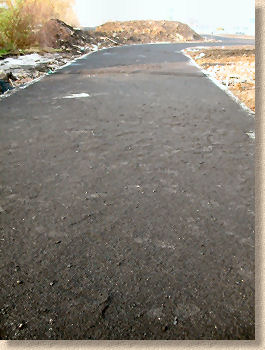
This running surface may be coated with a 'Sealing Grit', a bitumen-coated fine aggregate (3 - 0mm) with low tackiness, which is used to fill any voids in the surface and so prevent them filling with undesirable detritus, and to reduce the initial tackiness of the new surface. Once construction work is completed, the running surface can be cleaned and repaired or regulated as necessary before the final surface is laid. The sealing grit will, hopefully, have helped preserve the bitmac surface while it awaits its top course.
The surface course material contains much smaller aggregate than the Binder Course, intended to give a finer, smoother finish. The surface course is laid in much the same way as the binder course, except even greater care is taken with levelling as this is the final layer and will need to be accurate to around ± 6mm.
Machine-laid surface course material is accurately levelled as a matter of course, but with hand-lay jobs, the Rake-hands will often use a 'Lute' (has no teeth, gives smoother finish to dense wearing courses) to spread and level the wearing course material, especially when working with Dense material .
Completion and Making Good
The newly laid bitmac can be walked upon immediately after rolling. For residential driveways, it is often wise to allow at least an hour or so for the surface course to completely cool before trafficking with vehicles. Most contractors would prefer vehicles to be kept off the newly completed surface for 24 hours, and this is generally good advice.
Also, it should be noted that with driveways, extra care should be taken with cars and other vehicles for the first week or so, especially if a "cut-back" surface course has been used. Wheel spins, sudden acceleration or deceleration, and sharp turning at speed or "on the spot" can scuff or "tear" the wearing course. It can be impossible to invisibly repair such scuffing, and no contractor is likely to accept any liability for damage caused in this way.
Finally, the site should be cleaned and cleared of all detritus, dregs, bits of spilled or surplus bitmac, and any other construction materials. The haunching to edging kerbs should be covered over with topsoil, turf or other suitable material, taking care not to contaminate the new surface.
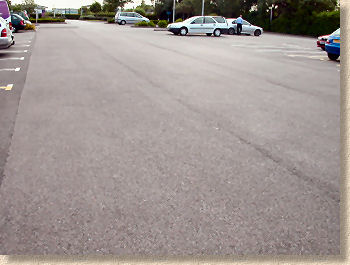
formed by individual passes of the paver machine
Making good to the soft-landscaping (lawn, garden, etc) is often a source of problems on private driveway projects. Many of the better blacktop gangs do not undertake soft-landscaping. They are often brought in to lay the 'mac and any restoration or making-good is left to another contractor. However, some gangs do offer a full service and will re-lay lawn or make good to planter beds that may have been disturbed during construction works. So, it is a good idea to establish beforehand just what services will be provided by the contractor, to ensure there is no misunderstanding or ill-feeling at the end of the job.
Which raises the issue of just when should any 'making-good' take place? Many blacktop contractors would be less than happy at the thought of their freshly laid blacktop being sullied by some gardener bringing in topsoil or plants, which inevitably dirties the surface and can be hard to clean. Accordingly, some of the better organised projects see the soil and other softscape requisites brought into the site before the final surfacing is undertaken, even though it means stockpiling the materials until the surfacing is complete and the 'making good' can be effectively completed without the need to traffic the new surfacing.
