Uses and Classes
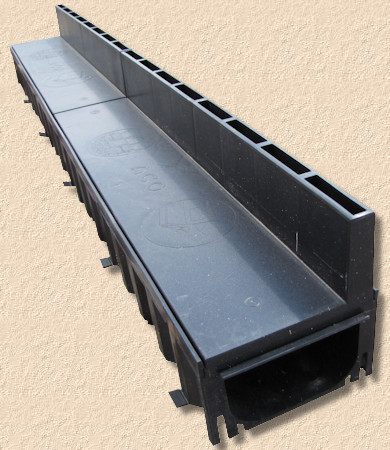
Linear drainage refers to systems that drain along their entire length, rather than at one particular point, as a gully does. Most are variations on the theme of an enclosed channel, typically with a u-shaped cross-section and some form of grating over the top.
There is an enormous range available, from simple half-metre or metre-long polymer concrete units for private driveways to stainless steel units for medical or food preparation areas to combined kerb and drainage systems.
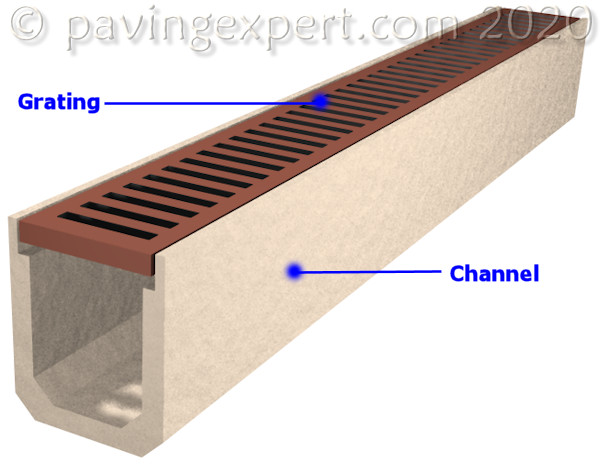
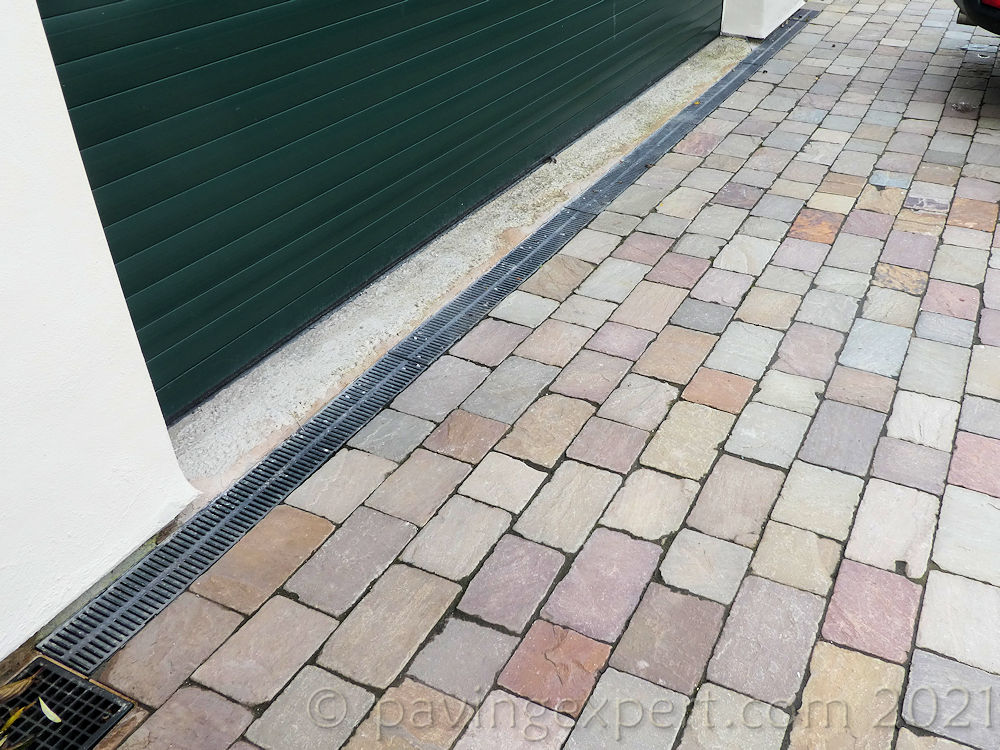
They come in a range of sizes, from 50mm deep units for roof drainage to 250mm deep motorway drains, and in a ever widening range of materials, including polymer concrete, wet-press concrete, HDPE, and stainless steel. The end use of the drain will determine which type is most suitable to a specific application.

Load classes
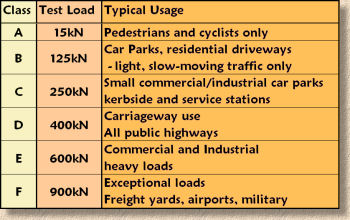
There are 6 'load classes' available which comply to the European Standard DIN 19580 (there is no equivalent BS) and these are shown in the table above.
Note that the overall class rating of a linear drain is dependent on both channel and grating meeting these test loads, and the 'whole construction' assumes the loading class of the weaker component. So, a Class D grating on a Class B channel would have only a Class B rating overall.
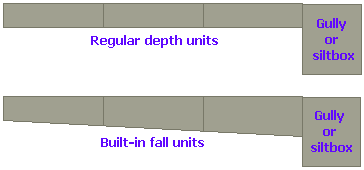
There are two basic types - those with built-in falls and those that maintain a regular depth along their entire length, and so must be laid to a fall . The units with the built-in falls tend to be used to drain large, flat areas, such as car parks, freight yards, airports etc, and the 'regular depth' type are used for short lengths of drain, and on areas with a natural slope or fall.
Gratings:
It's probably safe to say that there are more gratings than types of channels. Whatever the application, whatever the budget, there will be a grating to suit, starting with the cheap-n-tinny Class A galvanised gratings that come as standard with the bargain channels sold in the DIY sheds, through heavy duty plastic (polypropylene), ductile iron, right up to stainless steel, resin polymers and milled aluminium.
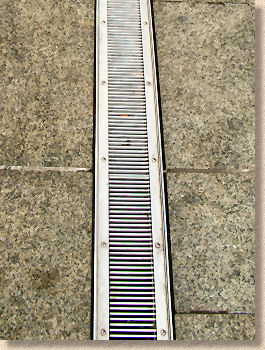
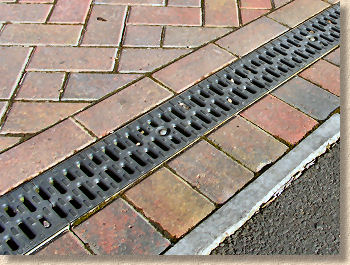
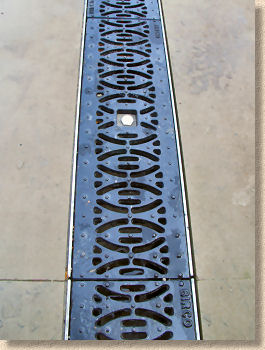
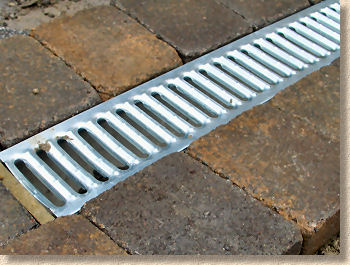
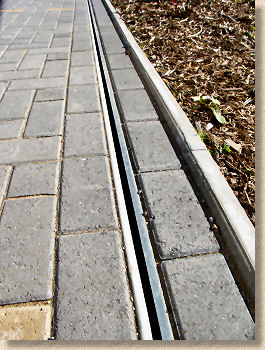
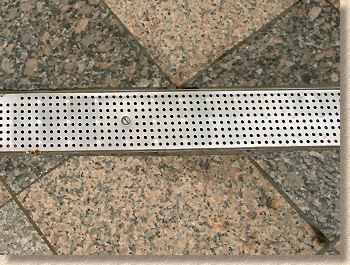
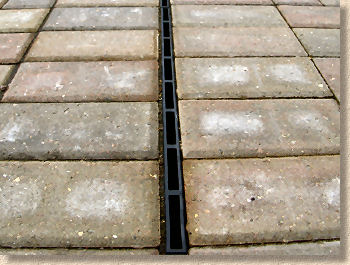
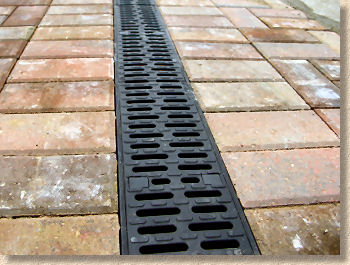
Gratings generally come in lengths to suit the accompanying channel, usually 500mm or 1000mm, with one or two units to each channel.
The gratings are strength-rated in the same way as the channels (see Table 1 above) and so a Class C Channel should have at least a Class C grating. Putting a lower rated grating on a channel, eg, a Class B grating on a Class D Channel, gives the finished unit the lower strength rating, ie, in this example, the finished drain would have a B rating, despite the channel being rated as Class D.
For the more weighty metal gratings, it's definitely worth selecting a type with a locking mechanism. It seems that each manufacturer has their own thief-proof locking system for their upmarket products, but most of them rely on some way of attaching the grating to the channel and so rendering them safe (ish) from the metal bandits that are prowling our town and city centres at night in search of anything they can "weigh-in".
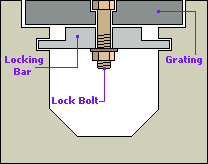
The most common locking system is a locking bar that slides into a recess within the channel which then uses a bolt to fix the grating to the locking bar. There are typically two such locking bars to each grating unit.
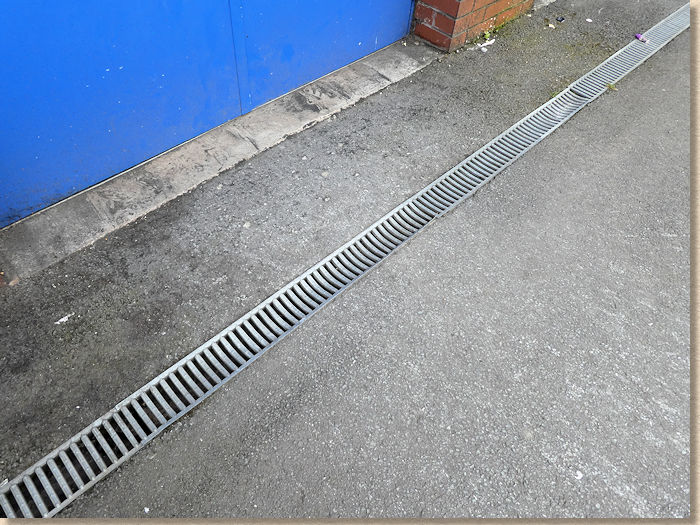
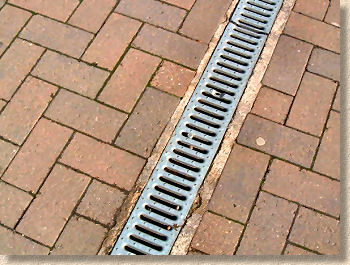
A cheap A-class grating was probably not the best choice for this channel drain outside the doors where they load and unload the beer kegs!
Accessories and Fittings
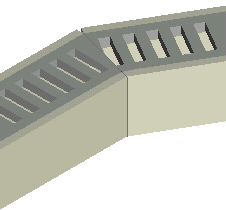
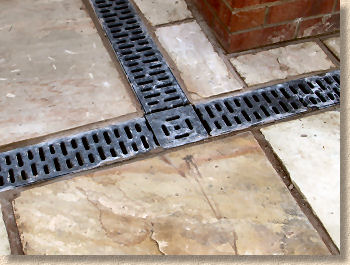
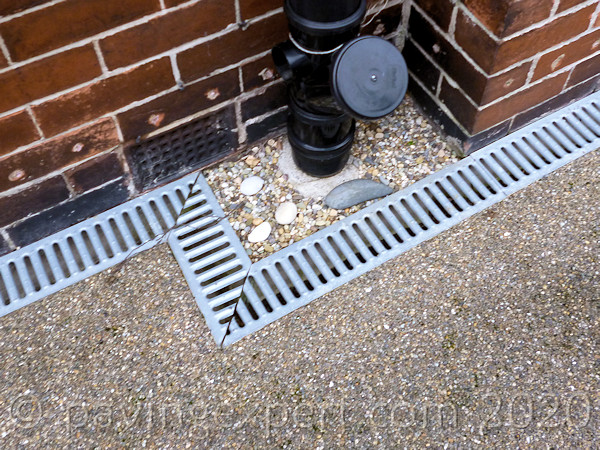
Connecting linear channel drains in one straight line is relatively straightforward and simple, but what about curves, corners, angles and junctions? Many of the systems available now offer standard 90° corner units and also 90° T-junction units. Some ranges include radius units for laying to specified arcs, or offer custom manufactured angles. If your project involves a number of these fittings, you should consult with the manufacturers to identify what fittings are available in the various ranges on the market.
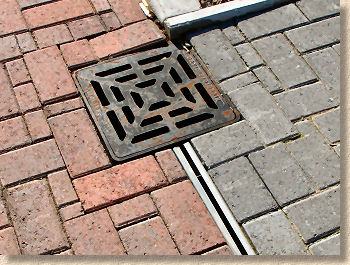
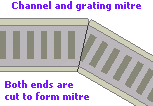
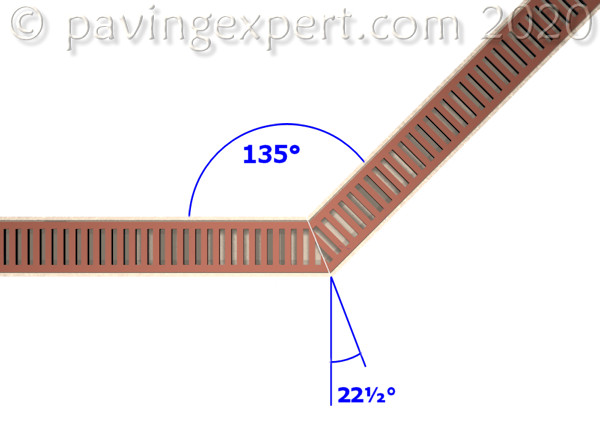
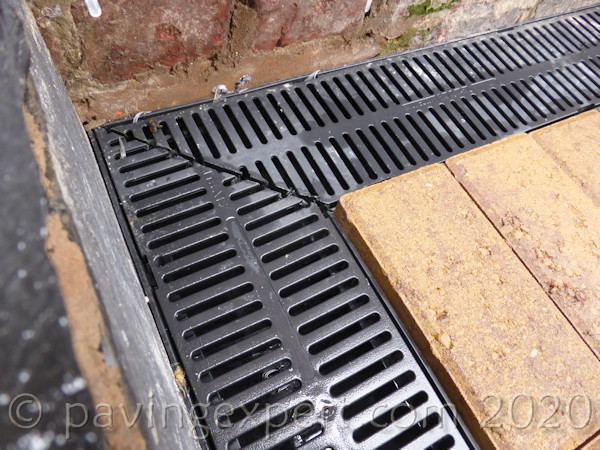
On some projects, it is acceptable to mitre any such angles by cutting the channel unit with a power saw . It is important that the adjacent ends of both channels meeting at the angle are cut to the angle of mitre to ensure the channel width is maintained and a 'snag' is not introduced into the channel. The resulting joint should be sealed with a suitable sealant, such as Polysulphide or silicone rubber to maintain water-tightness.

Calculating Requirements
There is a standard equation used to calculate the linear drain requirements, based on rainfall rates (r mm/hr), and the size of area being drained (A m²). The run-off capacity (Q) is measured in litres per second and is calculated thus....
Q = (A x r)/3600
In the UK, a typical rainfall intensity rate (r) of 75mm per hour is used, so for a 120m² pavement......
Q = (120 x 75)/3600 = 2.5 litres per second
This indicates that a linear drain for the small project under consideration here must have a flow capacity of at least 2.5l/s, which is well within the capabilities of most systems. Some of the larger commercial systems are capable of handling flows of 200-1,000 litres per second or more.
However, the brain work isn't finished yet. The flow capacity of any given linear drain can be calculated by another equation, which makes allowances for the dimensions of the channel, the roughness of the material and the gradient. This equation is beyond the scope of these pages, and it is usually not required as the manufacturers supply full technical support for their products, and have tables and graphs that can be used to find the right drain and gradient for any given run-off capacity requirement. If you have a pavement of 250m² or more, we would suggest you contact one of the manufacturers listed on the links pages for further information.
For smaller jobs, such as the 120m² pavement used in the example above, it can usually be assumed that a standard 100mm deep channel has run-off capacity of around 4-5 l/s even at relatively shallow gradients such as 1 in 300, and so are suitable for most pavements of 200m² or less.
For domestic paving projects, these 'off-the-shelf' units, readily available from reputable suppliers such as our prefered supplier, drainage-channel.co.uk for less than £20 per metre are ideal for use at the thresholds of garages, or for areas where you want to wash the car, van, boat or whatever. One note of warning, however; the types of 'bargain' linear drain obtainable from DIY chains tend to have cheap, thin, crappy gratings supplied with them. A genuinely good supplier will be able to supply a linear drain with a heavy duty grating to Class B, as given in the table above.
Jointing
Linear drains are sectional and therefore there is a joint between adjacent units. Many types incorporate some form of overlap joint, so that lengths of channel have a distinct 'male' and female' end, usually some form of a tongue and groove arrangement. These joints can be left 'dry' in most small-scale applications, as they will seal with silt and detritus over time, but they should be sealed with a suitable silicon or polysulphide sealant where water-tightness is an issue.
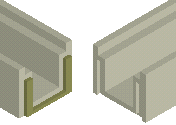
Other systems, usually the heavy duty, bigger drains, rely on polysulphide, silicon or bituminous sealant between adjacent units to form a water-tight joint, and this method of jointing is also used where a section of drain is cut to fit, thereby losing the 'overlap' joint capability. In certain, specialised applications, such as chemical handling areas or food preparation areas, continuous or jointless drains may be custom manufactured to meet the requirements of a specific project.
Connecting to Sewer System
Obviously, the linear drain has to discharge somewhere, and this section looks at a few of the more common methods used to connect the linear drain with the surface water sewer system.
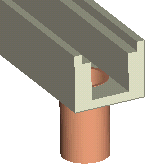
On small domestic application, the linear drain is normally connected to the main drainage via a pipe union end cap or a bottom outlet section. Both these methods enable the drain to be converted from a linear drain to a standard, circular sewer pipe which is buried underground and connected to the SW system, as described on the laying drainage page.
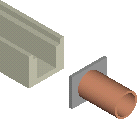
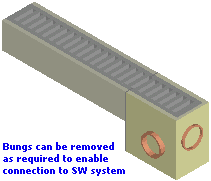
On larger projects, special outfall units and silt boxes are available to suit each manufacturers range. These are designed to cope with the heaviest of flows, and to connect to various sizes and types of drainage. It is beyond the scope of these pages to detail the vast range of silt boxes, mud traps, grease traps and other fittings available in each range and we suggest you contact the manufacturers listed on the links page or speak to a dedicated linear channel supplier such as drainage-channel.co.uk .
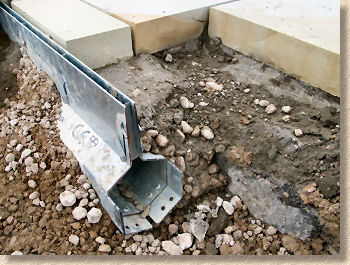
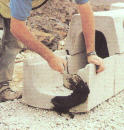
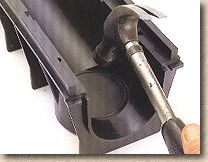
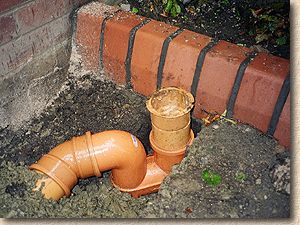
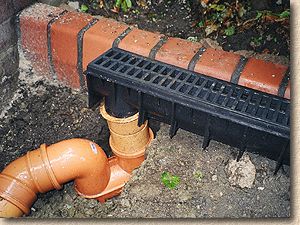
Some linear channels have simple 'knock-out' holes at the base of each section that can be removed by tapping with a hammer (as shown opposite) or by sawing, to enable easy connection to a sub-surface pipe. In the example below, a Clark-Drain 400 channel is connected to a 100mm uPVC pipe via a trapped fitting. Although the trapped fitting isn't essential when fitting to a SW system, it was used in this case to eliminate any problems with smells and sewer gases emanating from the drains.
Once attached to the pipe, the channel is laid on a bed of concrete and tapped down to the required level.
Click here for a fully detailed guide to installing an Aco Drive Drain linear system to a residential driveway.
Construction
The construction method is generally identical for most forms of linear drainage. They need to be laid on a C25 concrete bed at least 100mm thick, and then haunched according to the type of paving being used. Alternatively, they can be laid on a 12-40mm mortar bed over a prepared concrete race.
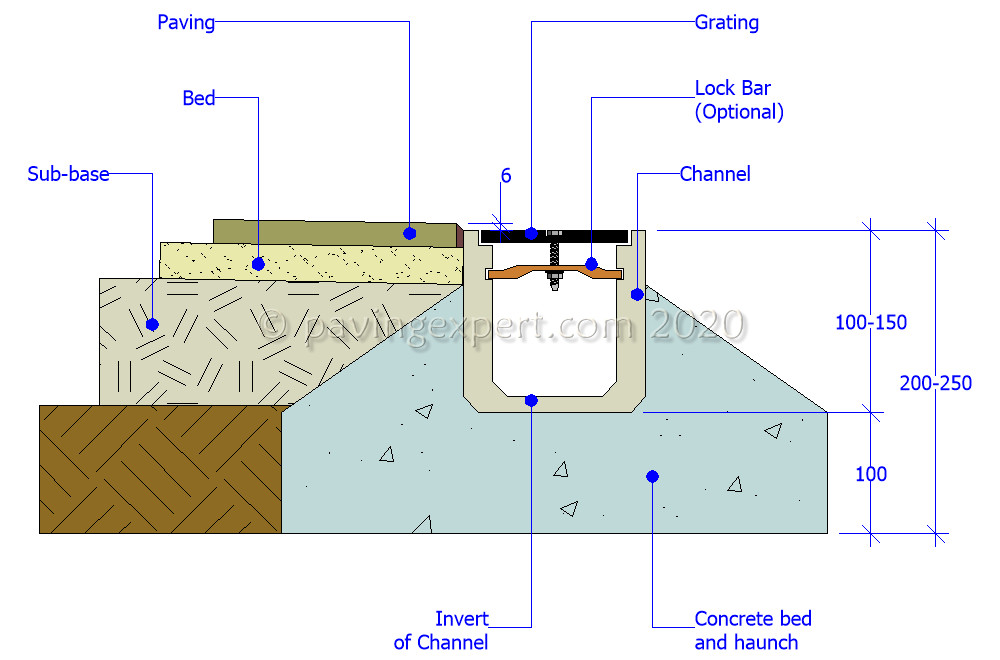
Three constructions are shown below, which, combined with that above, cover most of the usual paving types; note that the thickness of the bedding concrete may need to be increased for Classes D, E and F, depending on site conditions and end use.
Note also that the channel and grating sit 3-5mm below the level of the paving, to ensure water can find its way into the drain. This is standard practice for all drainage fittings which tend to be set on a rigid base or bed (such as concrete) which is unlikely to settle, whereas many forms of paving include an unbound layer or sub-layer which may, over time, settle ever so slightly. By having the drainage fitting that few millimetres lower than the paving, even if there was to be some minor settlement of the paving, the surface water would still be able to find its way into the channel/gully/hopper.

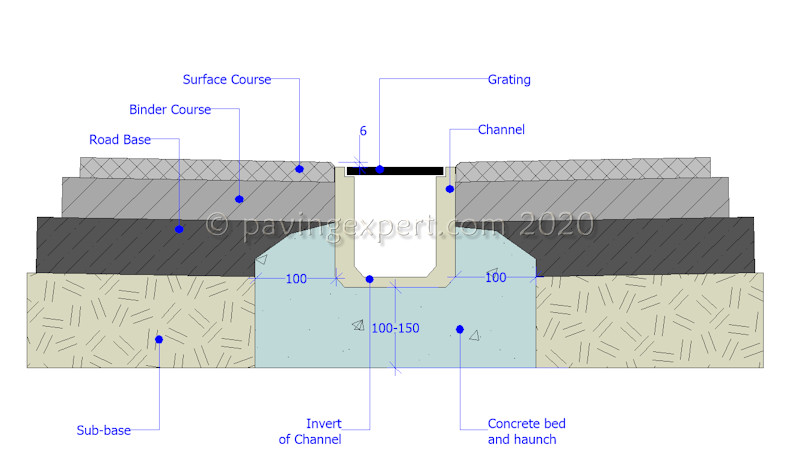
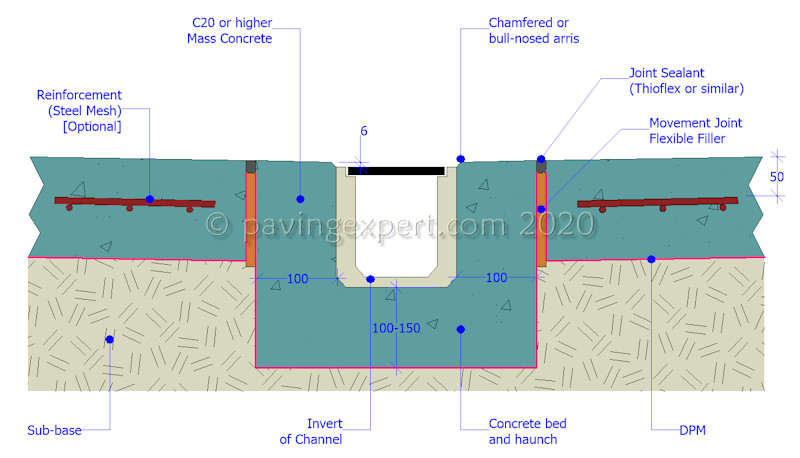
The channels are laid onto the prepared bed and tapped down to level using a small paviors' mall or rubber hammer. Once all the channels are laid, they are haunched to prevent them moving, then connected to the surface water system via one of the methods shown above, and finally, the gratings are fitted.

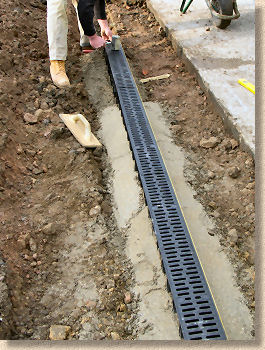
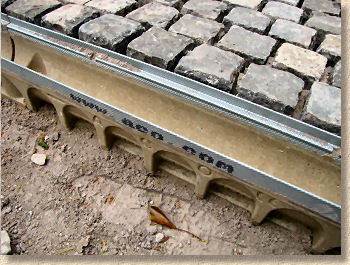
The photograph opposite illustrates a typical Class B linear drain being laid onto a concrete bed, and haunched to both sides. A Class B plastic grating suitable for occasional traffic has been fitted to the channel unit, along with the locking bar.
A full guide to installation of a similar channel at a garage threshold is provided on a separate page .
Detailing within a block pavement
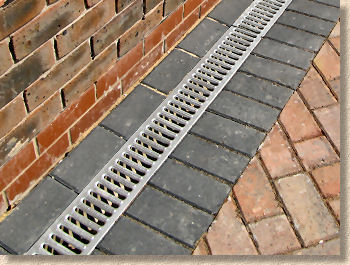
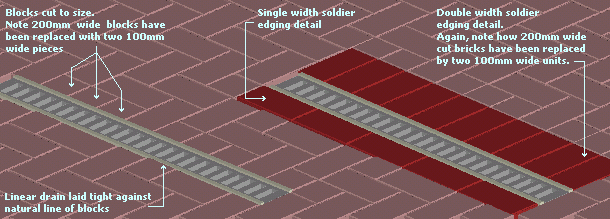
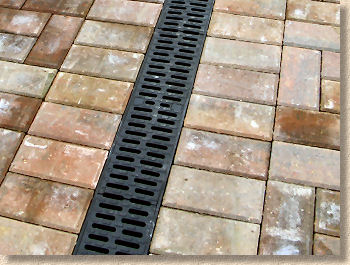
Where a linear drain runs through a block paved area, the paving should be brought up right to the edge of the channel, as shown above, rather than allow a 'fillet' of concrete or mortar to be used between the paving and the channel. In many cases, a soldier course is used to add detail around the linear drain, and this may be laid in the same block or in a contrasting colour, as suits the scheme. Alternatively, the blockwork pattern can be maintained right up to the edge of the channel.
Enormous thanks to drainage-channel.co.uk for sponsoring this page and making it all possible.
Please consider them when looking to buy linear channel drains for your project
SUDS Pages

