Introduction:
Laying reclaimed setts to re-create traditional style or heritage pavements
For various reasons, there is a fairly steady flow of clients looking to re-create what they imagine to be a 'traditional' sett pavement. Some clients have old properties and want an authentic looking driveway or forecourt, while some locations have listed status and the relevant authority, be it an architect or a Building Control Officer, wants sett paving, and wants it laid as it would have been 100 or 200 years ago. And this is where the problems start.
Because so few people are now trained as streetmasons or mason paviors, the old skills are rapidly disappearing, and since the Second World War, we've seen a growing reliance on cement-based construction for sett pavements, with highly variable results. The supposed strength and adhesion of cement mortars and concretes, it was hoped, would make up for the lack of time-proven, genuine skills from the laying operatives. The result was a disastrous period of around 30-40 years when sett pavements failed on a massive scale because the old understanding of how a sett pavement works and how to get the best from the various materials had been superseded by an over-reliance on “modern” techniques.
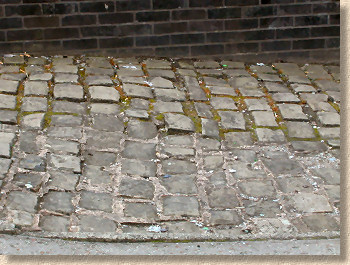
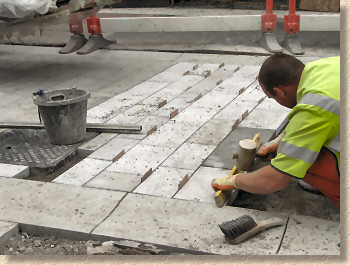
The publication of the SCOTS report at the turn of the millennium and the subsequent work on BS7533 Parts 7 and 12 , covering sett laying and jointing have done much to improve the situation, and it is now possible to construct attractive, functional and reliable sett pavements using modern materials, but these new standards are not always suitable for specialist heritage projects, or the accurate re-creation of traditional sett pavements.
Some years ago, I was asked to advise on the reconstruction of a pavement at a Grade 1 listed building. According to the briefing documents, the setts and cobbles had to be re-laid in exactly the same manner as the original installation which was almost 300 years old. However, the project manager (PM) required the reconstructed pavement to take the weight of fire engines, large delivery vehicles and a twice yearly fair. Given these loadings, the only suitable construction methodology would require a massive concrete base, but this was not acceptable to the PM: he wanted authenticity.
It was a fraught meeting when I explained that the original setts and cobbles had been laid onto a bed of clay mixed with fine gravel and lime, with added horsehair for binding, and then jointed with the same, except for one area of setts which had been treated to the luxury option of using pitch as the jointing material. Despite years of university training, the poor PM had failed to understand that those lovely old traditional pavements had been constructed to carry nothing heavier than an overfed drover on a farm cart, and so 'traditional' methods of construction would have to be, let's say “fettled” to give the appearance of his idealised pavement but using modern techniques and materials.
Old vs New
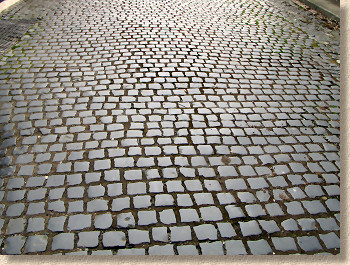
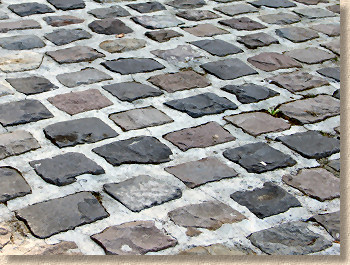
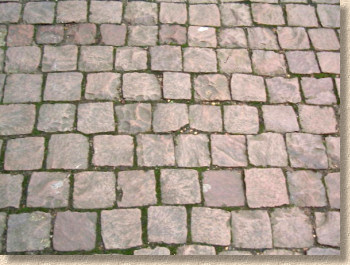
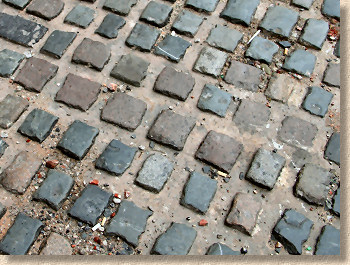
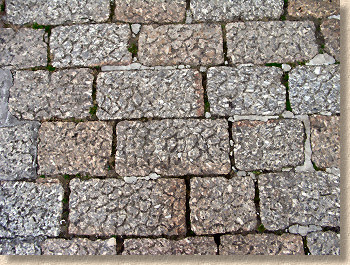
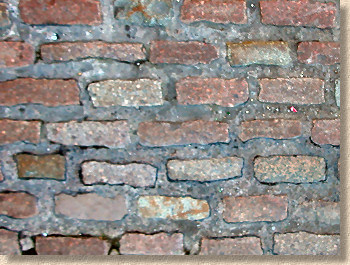
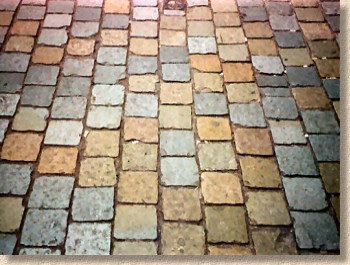
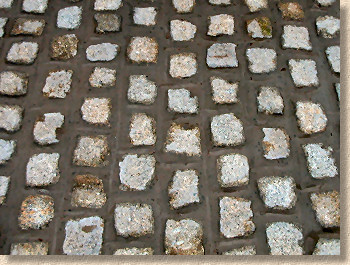
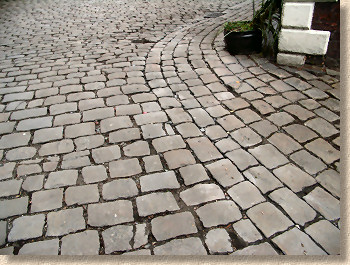
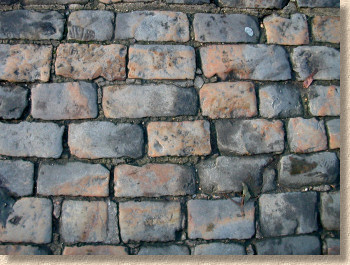
Let's look at a typical 'reconstructed' traditional sett pavement and an actual, as-it-was-when-laid sett pavement and see if there are any obvious differences.
Joint width
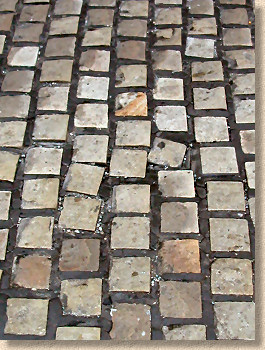
The most glaring difference is joint width. Traditionally, setts would be laid with a minimal joint. This was done for two main reasons:
- 1 - it minimises the amount of jointing material required.
- 2 - it makes for a smoother, less humpetty-bumpetty passage for both vehicles and pedestrians
With regard to the jointing material, this was often a matter of economics rather than structural benefit. The stone for the setts or cobbles more often than not came from a (reasonably) local source and so wasn't overly expensive or hard to obtain. However, the jointing would often need to be sourced from farther afield and could, in some cases, cost more than the stone for the setts. Lime, for the occasional mortared joints would have to be brought from a limestone region of the country where the raw material was crushed and fired and slaked to make a usable product, while pitch, a more popular option due to its flexibility and inherent ability to re-seal itself, had to be brought from overseas (The West Indies was a popular source).
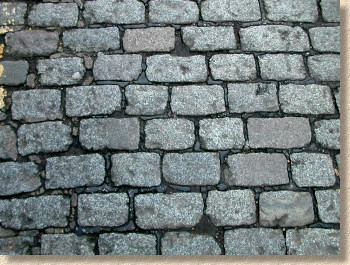
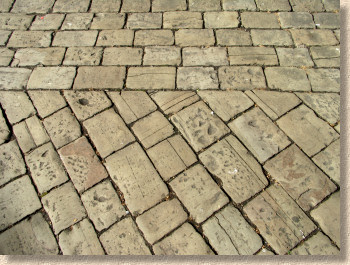
For lower grade pavements, a crushed rock or splitt might be used, which was obviously cheaper than pitch or lime, but in such cases, keeping the joints 'tight' ensured better vertical interlock of the splitt/grit between adjacent setts and therefore of more structurally competent pavement.
So, whatever the jointing, the key was to keep it to a minimum.
From a usability point of view, having tight joints reduces the surface irregularity of the pavement, and so there are fewer opportunities for turning an ankle or bouncing goods out of a cart. Ideally, users would prefer a totally smooth surface but as soon as a joint is introduced, whether it's between courses of setts or a movement joint in a concrete slab, unevenness has been created and consequently, there is a jolt when it is crossed by a wheel. The narrower the joint, the less of a jolt results, so sett paving becomes a trade off between having enough of a joint to create the necessary vertical and horizontal interlock, but not so much that the surface becomes a form of deterrent paving.
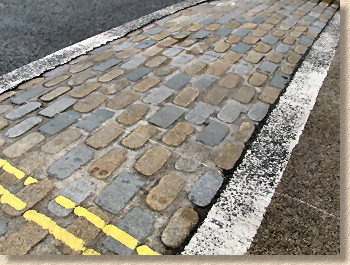
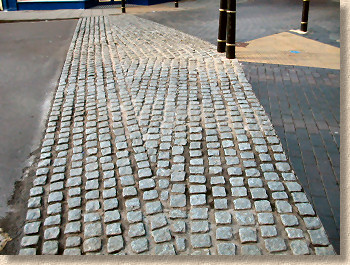
Setts with wider-than-ideal joints are often used as 'rumble strips' across cul-de-sacs where pedestrians share the same pavement as vehicles. The humped or ramped profile helps inform the drivers, but the uneven sett surface and the overly-wide joints reinforce the message.
Gauging
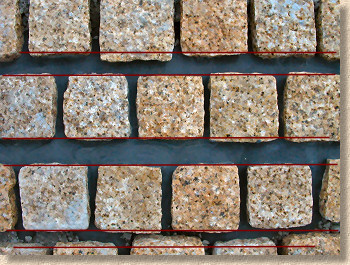
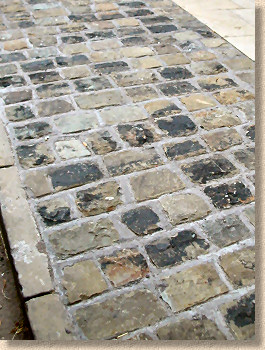
Returning to visual differences between genuinely old pavements and re-constructed settwork using reclaimed materials, another important difference is the gauging. The width of a course of setts is referred to as the gauge. Setts of various widths need to be sorted to ensure each course comprises setts of a specific width or gauge which in turn helps ensure joint width can be kept to a minimum.
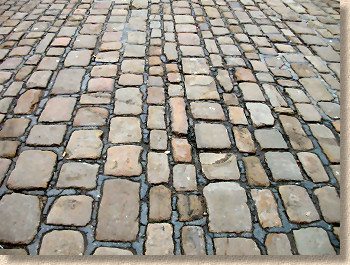
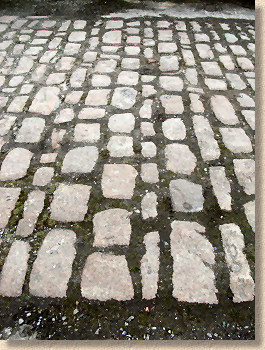
The tolerance of each course will have an effect on that critical joint width. Very high quality sett work relies on courses having a fine tolerance, usually ± 3mm, meaning the maximum difference in sett widths of 6mm, and so, when a typical joint of 6mm is included, the maximum separation between adjacent course is 9mm. More commonly, a gauge tolerance of ±6mm with a 10mm joint ensures a maximum joint width of 16mm.
New setts, especially those with hewn surfaces, often have a permitted tolerance of ±15mm, which can result in as difference of as much as 30mm between individual units. Consequently, pre-sorting of setts and cubes into carefully gauged widths reduces the tolerance of each course and so ensure tighter jointing. However, all that pre-sorting involves a good deal of labour, and so the overall construction cost is increased. In the end it comes to a trade off between quality of work and job cost.
Channels:
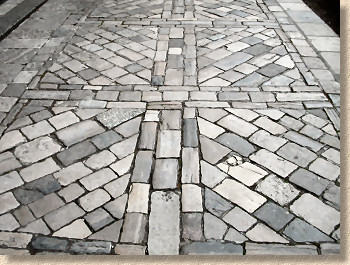
Almost invariably, there will be an edge course of longitudinally-laid setts to every sett pavement, regardless of where in the country it might be, or which materials were used in its construction.
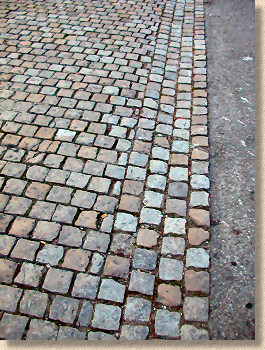
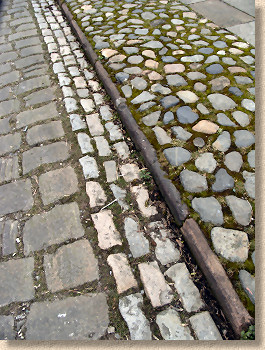
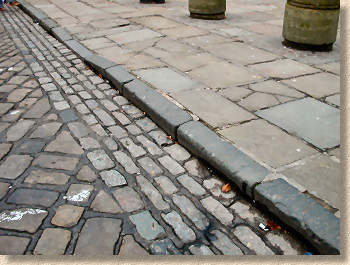
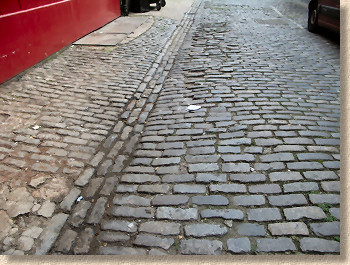
In many cases, the edge course will form a channel, usually 3 courses, but almost any number of courses is possible. Whether this channel is dished or dipped in any way to aid its potential function for drainage is, again, highly variable: some are dished but some are flush.
There is also much use of a single flat channel kerb used in conjunction with, or, more usually, as an alternative to a sett channel. In narrow ginnels and alleys, thse flat channels were often intended for use as cart tracks, offering a smoother passage for iron shod wheels than that provided by lumpy, bumpy setts. See the comments above regarding surface smoothness.
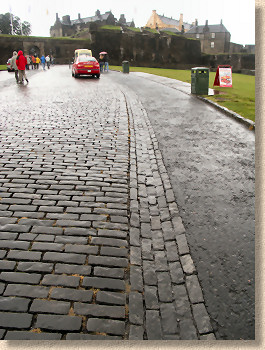
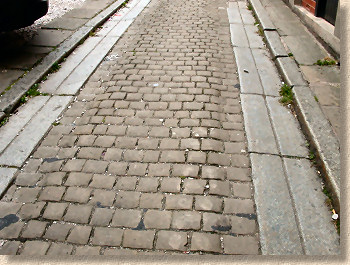
You can see wear on the softer gritstone setts in the centre
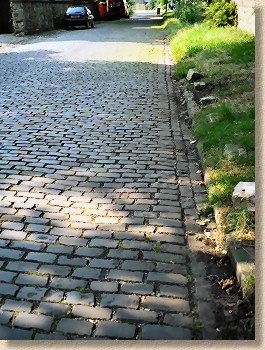
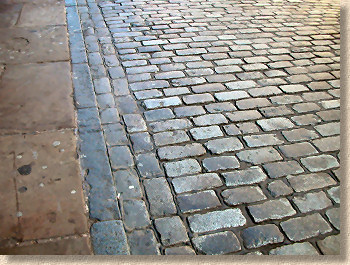
While it's easy to understand their function as a drainage channel or a boundary/perimeter marker, there are instances where the edge course has been included purely and simply because it looks good, and it does!
Camber:
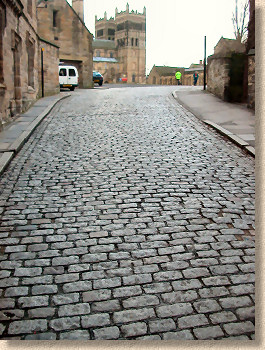
Lanes, ginnels, alleys and other narrow access ways were very often laid with a prominent camber . This was almost always done to improve drainage, sending surface water the aforementioned edge channels, but there are instances where despite more than adequate endfall, a camber has been included.

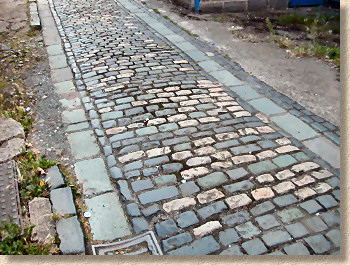
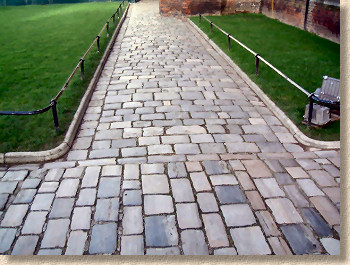
The amount of camber is usually pretty moderate, so that even at the steepest part of the curve (nearest the channel edges) the crossfall is rarely more than 1:80 (1.25%). On a 2.4m wide pavement, the centre would typically be just 20-30mm higher than the edges, while on a 4.5m full width roadway, an elevation of 60mm or so in the centre would be typical.
Jointing materials:
This was partly covered in the discussion regarding joint width , but traditional sett pavements, which for convenience we'll define as those constructed prior to WWII, were almost never jointed with a cement mortar. There are one or two exceptions, but they really are rare. Reliable cement mortars only became widely available in the early 20th century and their use for jointing sett pavements didn't come about until the post-war construction boom when cement was seen as the cure-all for any construction project.
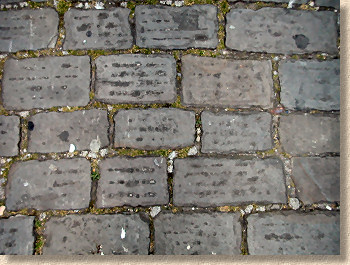

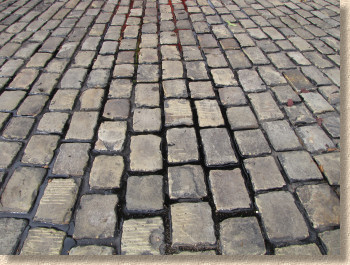
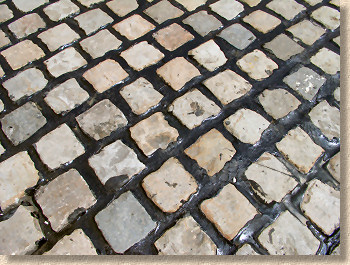
Prior to then, the overwhelming majority of sett pavements were jointed with pitch and/or splitt . Many of the intact traditional pavements that nowadays seem to have been jointed with some kind of gritty dirt were, in fact, more than likely jointed with a lower quality pitch which has since degraded and acquired the characteristics of the general road detritus, as shown above.
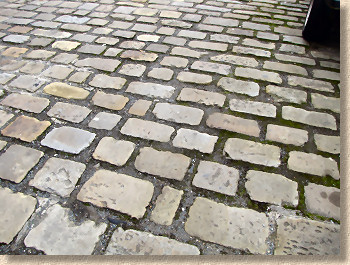
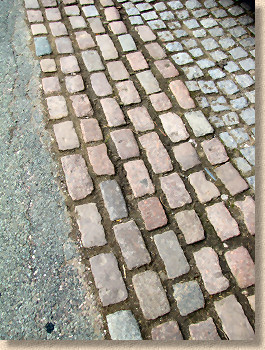
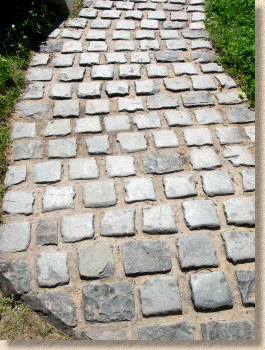
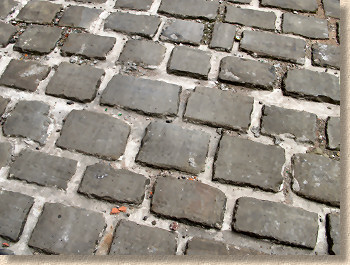
Cement mortars can (and do) look good with modern sett installations, but a great deal of care and consideration is required if a cement-based mortar is to be used when re-creating a traditional sett pavement. At the very least, a mortar can be coloured (black or dark grey) to prevent it dominating the completed pavement, or one of the darker, basalt-based resin mortars might be used, but for genuine authenticity, there's not much to beat traditional pitch jointing.
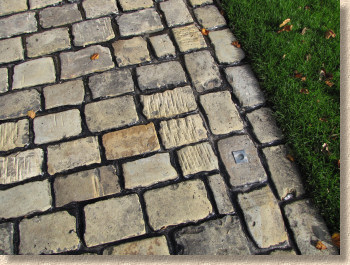
When good quality reclaimed setts are well laid and then carefully jointed with a genuine sett-jointing pitch, it can be a real thing of wonder. The jet black colouring of the pitch tricks the eye into ignoring its presence and, instead, your focus falls on the stone, which is where the real beauty lies.
Pitch is self-healing, so any minor movement is accommodated and, when the summer warmth returns, the pitch re-seals itself. It's also sufficiently durable to withstand regular pressure washing, so the 'good as new' look is easy to maintain.
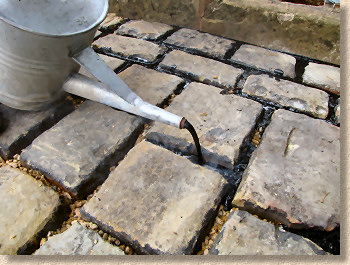
However, because it is relatively soft and, technically speaking, a fluid during warmer weather, pitch on its own may not be enough to hold setts in place, and so the joints are usually part-filled with gravel or chippings which provide interlock and stability, and then topped with the pitch. When joints are pitch-only, and the width is somewhat generous, there is a risk of 'rotation' where the setts are turned or moved by the loads imposed when traffic passes over them.
Fuller details on pitch jointing can be found here .
Regionalism:
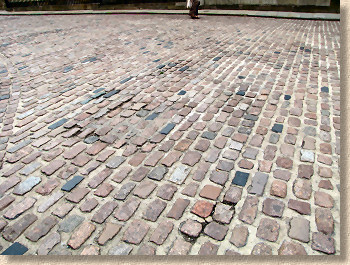
In these days when any stone, from any part of the world is readily available at short notice and keen prices, it is easy to forget that, when those original sett pavements were constructed 100 years or more ago, they very largely relied on local stone. The concept of hauling stone any further than was absolutely necessary was viewed as a nonsense, and so we see gritstone and yorkstone setts in the northern counties of England, while granite is the medium of choice in Scotland and Cornwall.
There are some exceptions. Much of the granite seen as setts and kerbs in Liverpool and south Lancashire orginally came from the Wicklow Mountains 120 miles across the sea in Ireland. However, there was method in the madness. With no coal resources of its own, Ireland, and Dublin in particular, was reliant on imports from the Lancashire coalfield, and rather than send back empty ships, the holds could be stuffed with granite paving units as a form of merchantable 'ballast'.
The only source of granite in the English midlands, and for the south-east, is Mountsorrel in Leicestershire, so we see its distinctive red form on many highways and by-ways of English towns of those regions, while the much softer but more readily available limestone setts from the southern Peak District are rarely seen more than 20-30 miles from source.
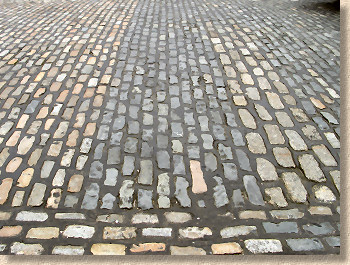
Pennant Stone is dominant in South Wales and SW England, although we also see some 'xenoliths' around Bristol, brought back from overseas as ballast and dumped on the quayside when a more valuable commodity was available. The incredibly hard and dark granites of Snowdonia are found throughout North Wales and into Lancashire, Cheshire and Staffordshire. In Scotland, it's predominantly granites, especially the lovely red granite from around Aberdeen, although there is also Caithness Slate and some diorites on the west coast, many of which also found their way across to Northern Ireland.
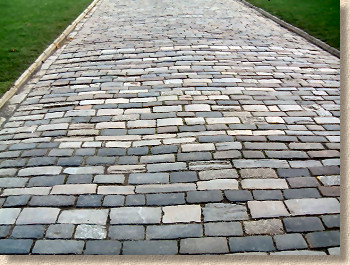
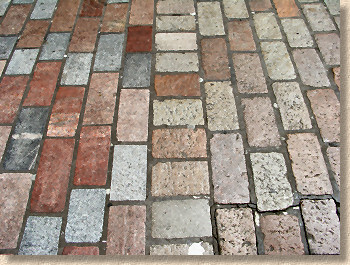
A little bit of research will almost always reveal what was the local stone of choice in any given area. While it's not always possible to source genuine local or regional stone, finding a 'near match' is usually mo more than a few minute's work.
For authentic reconstructions and heritage projects, using the right kind of stone is often just as important as laying it correctly!
Summary:
There are few surfaces, if any, to match a well-laid pavement constructed from reclaimed setts, so it's understandable why they are so popular for heritage projects and buildings of character, but all too often what should be a stunning work turns out to be a bit of a mess because the laying operatives don't have sufficient experience in laying setts and this is compounded by a designer or project manager who doesn't understand why sett paving is laid in a very particular way.
These are valuable skills that were spurned for many years as the trade moved to simpler, low-skill materials such as block paving, but they cannot be allowed to die, or to be usurped by the pseudo-skills of those who claim to be able to lay setts, without actually having any real training or experience.
Anyone commissioning a sett pavement using reclaimed materials, or looking to re-construct or repair an existing heritage pavement should endeavour to use contractors with proven skills, contractors that can provide examples of previous similar work and willingly prepare test panels to prove their skills. Similarly with designers, simply labelling an area "sett paving" is not enough. There needs to be accurate detailing otherwise the project runs the risk of being a bland and uninspiring waste of stone.
